If you’ve got a corner of your living room, a spare stretch of hallway, or a tiny bedroom that has to double as a “school,” office, hobby zone, or reading nook, you’re not alone. Many families are still juggling hybrid work, tutoring, or homeschooling at home—and the way you set up that space can make a huge difference in how calm and focused it feels.
Here’s how to turn any awkward corner into a cozy, functional nook using simple, budget-friendly DIY projects you can start this week.
1. Map the Space: One Tape Roll and 10 Minutes
Before buying anything, “audit” your nook the way that viral homeschool mom wished she had before posting online.
What you’ll need:
- Painter’s tape or masking tape
- A measuring tape
- Scrap paper and pen/pencil
Step-by-step:
- Clear the floor. Move out bulky items or toys so you can actually see the footprint.
- Measure the area. Length, width, and ceiling height. Jot them down.
- Tape out furniture sizes on the floor.
- Mark out a desk (common depth: 18–24", width: 30–48").
- Add space for a chair to slide out (about 30").
- Tape a rectangle for storage (bookshelf, cube unit, or bins).
- Check walkways. Make sure you can still walk past comfortably (aim for at least 30" of clearance).
- Look up. Identify any “dead” wall space where shelving or pegboards could go.
Why this helps now: Online, people picked apart that viral setup for being cramped and cluttered. This quick tape mock-up keeps you from repeating that mistake—your space will feel intentional, not jammed together.
2. Build a Simple “Floating” Workspace From a Single Board
Instead of cramming in a bulky desk like many of the internet-criticized setups, you can DIY a sleek wall-mounted workspace that looks custom but uses basic tools.
What you’ll need:
- 1 sturdy board (e.g., 1" x 12" or 1" x 15" pine or plywood cut to your measured width)
- 2–3 heavy-duty L-brackets (rated for at least 100 lbs total)
- Screws and wall anchors (or wood screws for studs)
- Drill or screwdriver
- Level
- Sandpaper
Step-by-step:
- Cut or have the board cut to size. Many home centers (Home Depot, Lowe’s, local lumber yards) do straight cuts for free or a small fee.
- Sand the edges. Smooth any splinters and lightly sand the top.
- Decide height. Standard desk height is about 29–30". For kids, go slightly lower (around 24–28" depending on age/height).
- Mark bracket locations. Use a level to draw a line at the desk height, then mark where each bracket will go (ideally into studs).
- Attach brackets to wall.
- If hitting studs: use wood screws.
- If not: use appropriate wall anchors rated for the load.
- Place board on brackets and secure. Screw up through the bracket into the underside of the board.
- Test for wobble. Gently lean your weight on it. Adjust or add a bracket if needed.
Bonus: Leave enough space underneath for a rolling cart or baskets. You’ve just created a spacious, easy-to-clean work zone without overwhelming the room.
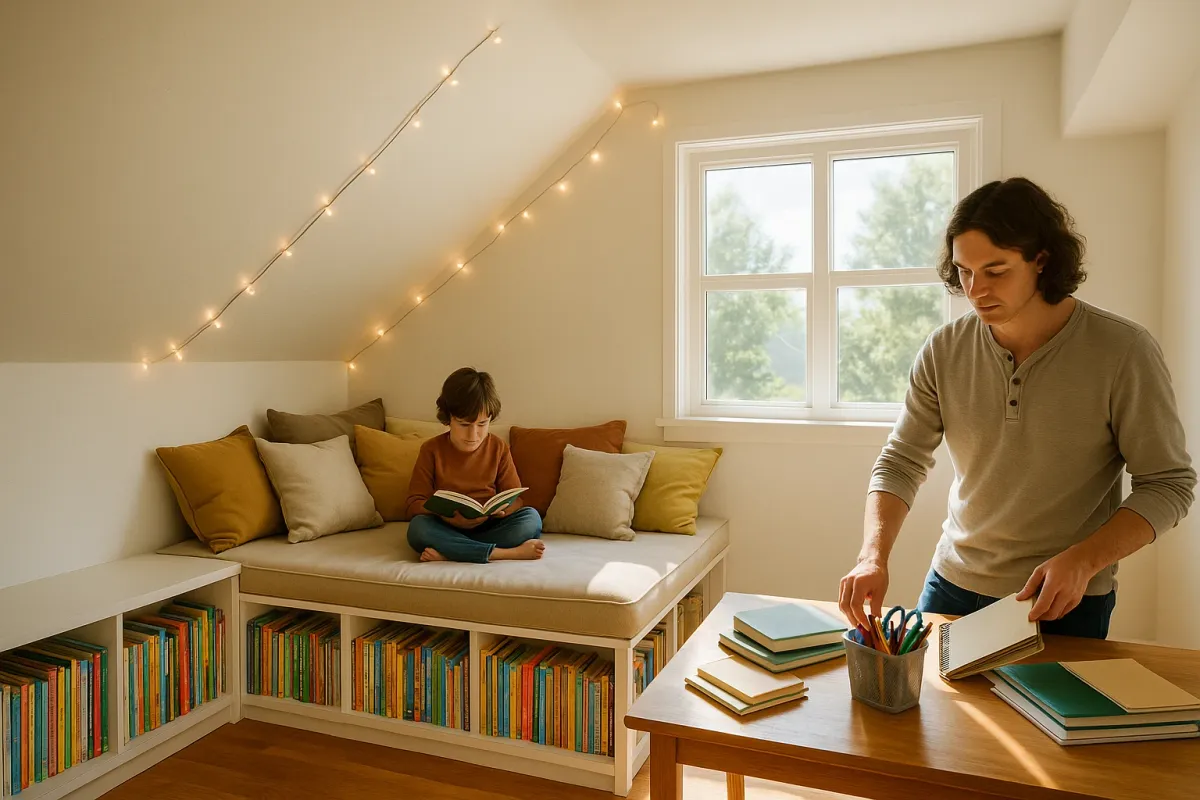
3. Use Vertical Storage to Avoid the “Cluttered Homeschool” Look
One big criticism of that viral homeschool clip was how visually busy everything looked. The fix isn’t fewer supplies—it’s smarter storage.
What you’ll need (choose what fits your space and budget):
- Pegboard and hooks
- Wall-mounted shelves or picture ledges
- Over-the-door organizer
- 3–6 matching storage bins or magazine files
- Label maker or masking tape + marker
Step-by-step:
- Pick one wall as your “storage wall.” Even a narrow section can work.
- Install a pegboard or a couple of shelves.
- Pegboard: cut to size, screw into wall with spacers or furring strips.
- Shelves: use brackets and a level so they sit straight.
- Sort your items by category. Example:
- “Daily use”: notebooks, laptop, chargers, pens
- “Occasional”: craft supplies, extra paper
- “Rare”: backups, seasonal items
- Give each category a home.
- Daily items: closest shelf or desktop organizer.
- Occasional: labeled bins or magazine files on a mid-height shelf.
- Rare: higher shelf or an over-the-door organizer.
- Label everything. Even simple masking tape labels help everyone put things back quickly.
- Leave negative space. Don’t fill every inch. Empty space makes the nook feel calmer.
Result: You still have all the supplies you need for work, homework, or homeschool—but your room doesn’t look like a stationery store exploded on camera.
4. Create a “Focus Zone” With Lighting and Color
That viral homeschool room sparked debate partly because viewers felt the environment didn’t look very restful or focused. You can change the entire mood of your nook with just light and a bit of color.
What you’ll need:
- Warm-white LED desk lamp or clip-on lamp
- Optional: LED strip lights (for under-shelf lighting)
- One small can of paint or peel-and-stick wallpaper (for an accent)
- Painter’s tape and a roller/brush if painting
Step-by-step:
- Fix overhead glare. If your main ceiling light is harsh, use a lower wattage bulb or a warm-white LED (2700–3000K).
- Add task lighting. Place a movable desk lamp or clip-on lamp on the “opposite” side of the writing hand (right-handers: lamp on the left, and vice versa) to reduce shadows.
- Consider a mini accent wall.
- Paint just the nook area behind the desk in a calm color (soft blue, sage green, warm beige).
- Or use peel-and-stick wallpaper for texture without commitment.
- Use lighting to signal “work mode.”
- Work or school time: lamp on, maybe under-shelf LEDs on.
- Off-duty: lamp off, just ambient room lighting.
- Keep decor simple. One small pinboard, one inspiring quote or art print, and maybe a plant. Avoid filling the wall with too many visuals that can distract.
Why this matters: Good lighting reduces eye strain and mental fatigue, and a clear visual boundary (like a painted nook) tells your brain, “We’re in focus mode now,” even in a shared room.
5. Make It Adaptable: One Nook, Many Uses
A big lesson from the public reaction to that homeschool room: families’ needs change fast. Kids grow, schedules shift, and a nook that works for a 6-year-old may not work for a teen—or for you, if you suddenly need a home office again.
Design your nook so it can easily evolve.
What you’ll need:
- One or two lightweight chairs or stools
- A small rolling cart or set of stacking bins
- Velcro strips or Command hooks for removable decor
- Cable clips or reusable cable ties
Step-by-step:
- Choose movable seating.
- Use a light chair or stool you can slide out and repurpose at the dining table.
- If space is tight, consider a folding chair you can hang on a hook when not in use.
- Put supplies on wheels. A small rolling cart can hold crayons, laptops, notebooks, or craft tools and move to wherever the action is.
- Mount decor so it’s easily swapped.
- Use Command hooks or Velcro strips for art, schedules, or calendars.
- As kids or priorities change, you can update the wall without patching holes.
- Tame cords. Use cable clips or ties to route cords along the back edge of the desk and down a leg or wall, so you can unplug a laptop or move a lamp without a tangle.
- Set a “reset routine.” At the end of each day, take 5 minutes to:
- Return supplies to their bins or cart.
- Clear the desk surface.
- Coil and tuck away any loose chargers.
Result: Your nook can be a homeschool zone this year, a crafting corner next year, and a quiet reading/remote-work space whenever life throws you another curveball.
Conclusion
The viral homeschool clip that drew so much criticism is a good reminder: strangers on the internet don’t live in your house—you do. Your space doesn’t have to impress anyone on social media; it just has to support your real, everyday life.
By measuring before you buy, building a simple wall-mounted workspace, using vertical storage, improving lighting, and keeping the setup flexible, you can turn even the smallest, oddest corner into a cozy, hardworking nook. Start with one step—clearing and taping out the space—and build from there. A calmer, more functional home project zone is absolutely within reach, one simple DIY tweak at a time.