Below are five beginner-friendly DIY tips designed for “regular people,” not pros. Each one includes simple steps, what to watch out for, and how to keep things stress-free.
Tip 1: Start Small With a “One Wall Refresh”
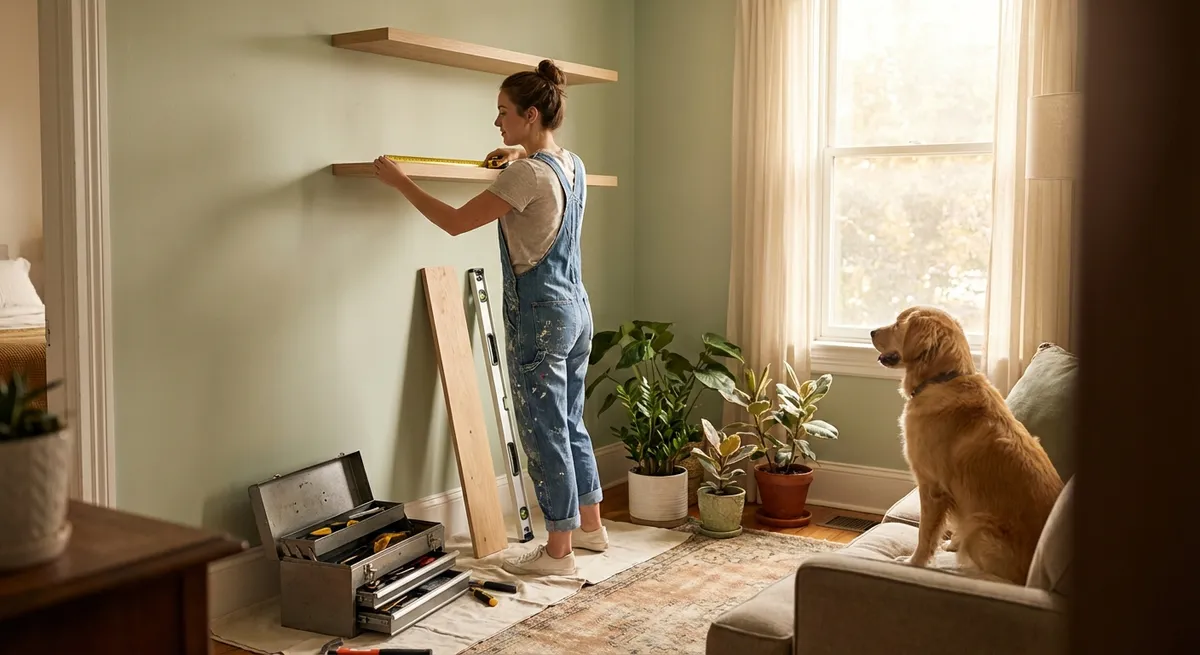
Instead of “redoing a room,” which can feel huge and expensive, focus on transforming just one wall. It’s a manageable project that gives you a big visual payoff without a big commitment.
What you’ll need (basic version):
- Painter’s tape
- Measuring tape
- Pencil
- Level (or a phone level app)
- Paint or removable wallpaper (or even peel-and-stick decals)
- Drop cloth or old sheet
Step-by-step:
- Pick your wall intentionally.
Choose a wall you see a lot—behind your couch, your bed, or near your desk—but avoid heavily damaged surfaces for your first project.
- Clean and clear.
Move furniture a few feet away, remove nails and hooks, wipe the wall with a damp cloth to remove dust and grease, and let it dry.
- Decide your “mini vision.”
Ask: Do I want calm or bold?
- Calm: choose a soft neutral or muted color, or a subtle pattern.
- Bold: go for a deeper shade or a graphic peel-and-stick wallpaper.
- Prep the edges.
Use painter’s tape along baseboards, ceiling, and adjoining walls. Press the tape firmly with a clean cloth or fingernail to prevent bleed-through.
- Apply your finish.
- Paint: Start with a small test patch to check color. Then cut in edges with a brush, fill the center with a roller in “W” motions, and do 2 thin coats instead of 1 thick one.
- Peel-and-stick wallpaper/decals: Start at the top, peel a bit at a time, smooth downward using a credit card or squeegee, and trim edges with a sharp utility knife.
- Remove tape while still slightly wet.
This helps get a cleaner edge. Pull the tape back on itself at a 45° angle.
Why this works:
It teaches you surface prep, measuring, and finishing—core DIY skills—without tackling a whole room. Plus, if you don’t love it, repainting or removing peel-and-stick is fixable.
Tip 2: Build a “Mini Fix-It Kit” So You Stop Putting Things Off
DIY gets easier when the basics are always within reach. Instead of scrambling for tools every time something breaks, create a small, intentional toolkit you can grab in seconds.
Starter toolkit checklist:
- Manual screwdriver with interchangeable bits (flathead and Phillips)
- Tape measure (16 ft is plenty for most homes)
- Hammer
- Assorted picture-hanging hardware (hooks, nails, command strips)
- Utility knife + extra blades
- Small level
- Painter’s tape
- Super glue and wood/household glue
- Safety glasses and work gloves
Step-by-step to build your kit:
- Choose a container.
A toolbox, sturdy shoebox, or small bin works. The point is: everything lives in ONE place.
- Gather what you already own.
Check junk drawers, closets, and random boxes. You might own more than you think.
- Fill in the gaps slowly.
Each month, add 1–2 missing items rather than buying everything at once. Start with screwdriver + tape measure.
- Label your kit clearly.
Write “Home Fix-It Kit” on the container. Tell everyone in your household where it lives. It doesn’t move.
- Use it for micro wins.
Any time you notice something small—loose knob, squeaky hinge, crooked frame—practice going straight to the kit and fixing it right away.
Why this works:
Half of DIY is just removing friction. When tools are easy to grab, small repairs feel like 5‑minute tasks, not weekend projects. That mindset shift builds your confidence fast.
Tip 3: Upgrade Lighting To Make Any Room Look “After-Photo” Ready
Lighting is one of the fastest ways to change how your home feels, and you can do it without rewiring or major electrical work.
Beginner-friendly lighting upgrades:
- Swap old bulbs for LEDs in warmer color temperatures (around 2700K–3000K for cozy rooms)
- Add plug-in lamps instead of relying only on overhead lights
- Use stick-on puck lights or LED strips in dark corners, closets, or under cabinets
Step-by-step:
- Walk through your space at night.
Notice where it feels harsh, gloomy, or “office-like.” That’s where you’ll focus first.
- Change your bulbs thoughtfully.
- For bedrooms and living rooms, choose warm white (2700K–3000K).
- For kitchens and workspaces, try neutral white (3000K–4000K).
Make sure you get the right bulb base type (e.g., E26 medium base) by checking an existing bulb first.
- Layer your light.
Aim for 3 types in main rooms:
- Overhead (ceiling fixture)
- Task (desk or floor lamp)
- Accent (small lamp, LED strip, or puck lights for ambiance)
- Add no-drill lights where wiring is tricky.
Use battery-powered stick-on lights for closets, under shelves, or inside cabinets. Most install with adhesive pads; just clean the surface first.
- Use smart plugs or timers (optional).
Plug lamps into smart plugs or simple timers so lights turn on automatically at set times, making your home feel welcoming when you walk in.
Safety tip:
Always turn off a light switch and let bulbs cool before touching them. For anything wired directly into your electrical system that requires opening junction boxes or dealing with multiple wires, consider calling a licensed electrician.
Why this works:
You get a “new room” feeling without paint or furniture changes. Better lighting also helps you see more clearly when you tackle future DIY projects.
Tip 4: Fix that One Annoying Thing You’ve Been Ignoring
Every home has a few little problems that quietly drive you nuts: a door that sticks, a cabinet that slams, a wobbly chair, or a towel bar that’s loose. Tackling even one of these is a confidence booster.
Common easy fixes to start with:
- Loose cabinet knob or pull
- Squeaky/creaky door hinge
- Wobbly dining chair (loose screws)
- Cabinet doors that slam (add stick-on bumpers or soft-close adapters)
- Loose outlet or switch plate cover
Step-by-step example: Fixing a squeaky door
- Confirm the squeak is from the hinge.
Slowly move the door and listen—if the sound comes from the hinge area, you’re in the right spot.
- Support the door slightly (optional).
If you’re nervous about removing a hinge pin, place a sturdy wedge, book, or door stop under the door.
- Remove one hinge pin at a time.
Use a flathead screwdriver and light taps from a hammer to lift the pin from the bottom (if accessible). Don’t remove all the pins at once; keep the door in place.
- Lubricate the pin.
Wipe it clean with a cloth, then apply a small amount of petroleum jelly, bar soap, or silicone-based lubricant. Avoid cooking oils—they can attract dust.
- Reinsert the pin and test.
Tap it back in gently, then open and close the door to work in the lubricant. Repeat for other hinges if needed.
Why this works:
You prove to yourself that you can solve problems around the house. After one successful fix, the next “scary” repair feels much more doable.
Tip 5: Create Functional Storage From What You Already Own
You don’t need a full closet system or fancy containers to get organized. With a bit of DIY thinking, you can repurpose what’s already in your home into practical storage.
Things you can repurpose quickly:
- Shoe boxes or shipping boxes (cover with contact paper or fabric)
- Old mugs, jars, and food containers (wash well, remove labels)
- Magazine holders (great for storing cutting boards, foil, wraps)
- Hooks and over-the-door hangers you’re not using elsewhere
Step-by-step: Turn a cluttered surface into a “home base”
Pick one problem area—maybe the entryway table, kitchen counter, or nightstand.
- Empty the entire surface.
Put everything in a box temporarily. Wipe the surface clean.
- Sort into simple categories.
Example categories: “Mail,” “Keys,” “Tech (chargers/headphones),” “Random pocket stuff.”
- Shop your home for containers.
Grab jars, small boxes, bowls, or trays that fit the surface. Assign each category a container.
- Label if needed.
Use masking tape and a marker, or print simple labels. Labels help everyone remember the new system.
- Set a 2-minute daily reset.
At the same time each day (after work, before bed), put items back in their containers. Once this habit sticks in one spot, repeat in another.
Why this works:
You’re practicing a core DIY mindset: using what you have in smarter ways. You also learn that organization isn’t about buying more stuff—it’s about giving everything a clear “home.”
Conclusion
You don’t have to be “handy” to start improving your home. You just need one small win: a refreshed wall, a fixed squeak, better lighting, a tidy surface, or a simple toolkit ready to go. Each project teaches you a new skill and slowly rewires your brain from “I can’t” to “I can figure this out.”
Pick one tip from this list and schedule it—even 30 minutes—on your calendar this week. Your home doesn’t have to be perfect to be worth caring for, and every small DIY step you take is proof that you’re capable of more than you think.
Sources
- [Energy.gov – LED Lighting Basics](https://www.energy.gov/energysaver/lighting-choices-save-you-money) – Explains different bulb types, color temperatures, and how LEDs can improve home lighting and energy use.
- [Family Handyman – How to Fix a Squeaky Door](https://www.familyhandyman.com/project/how-to-fix-a-squeaky-door/) – Step-by-step guidance and visuals for quieting noisy doors.
- [Home Depot – Paint Buying Guide](https://www.homedepot.com/c/ab/paint-buying-guide/9ba683603be9fa5395fab901c5e9f4c) – Covers paint types, finishes, and tools helpful for beginner wall projects.
- [Good Housekeeping – How to Organize Every Room in Your House](https://www.goodhousekeeping.com/home/organizing/) – Practical ideas for decluttering and using everyday items as storage.
- [Consumer Product Safety Commission – Electrical Safety in the Home](https://www.cpsc.gov/safety-education/safety-guides/home/electrical-safety-in-the-home) – Important safety tips for working around lighting and electrical fixtures.