Right now, upcycling and “nostalgia crafting” are trending hard on TikTok, Instagram, and in DIY communities. Creators are turning outdated gadgets and media into wall art, journals, organizers, and even jewelry. The best part? You don’t need fancy tools or advanced skills—just a bit of patience and a willingness to experiment.
Below are five beginner-friendly DIY ideas inspired by the current wave of “obsolete things” content. Each one helps you keep a little piece of the past while creating something useful today.
Retro Cassette Tape Desk Organizer
As cassettes show up in “obsolete things” posts, people are realizing they’re basically ready-made little containers. Instead of letting them gather dust, turn them into a fun, retro organizer for your pens, brushes, or remote controls.
You’ll need:
- 4–6 cassette tapes (all standard size)
- Strong craft glue or hot glue
- Small piece of cardboard (for the base)
- Optional: acrylic paint or spray paint, stickers, washi tape
Steps:
- Clean the tapes. Wipe them down with a damp cloth and let dry completely.
- Plan your layout. Stand the cassettes on their long edges like little walls. Four tapes can make a square; six can make a rectangle.
- Glue the sides. Run a line of glue along the vertical edge of one tape and press it firmly against another to form a right angle. Hold for a few seconds until it grips. Continue until you’ve made a full “box” with no top.
- Add a base. Place your tape box on cardboard, trace around it, and cut out the shape. Glue the cardboard to the bottom edges of the tapes and let it dry.
- Decorate (optional). Paint the whole organizer one solid color, or leave the labels showing for maximum nostalgia. Add stickers, washi tape, or handwritten labels.
- Fill and use. Drop in pens, scissors, craft tools, or makeup brushes. You’ve just turned 1980s tech into 2020s organization.
Encouragement tip: If your corners look a little crooked at first, that’s okay. Once it’s filled and decorated, tiny imperfections read as “handmade charm,” not “mistake.”
VHS & DVD Cover Art Wall Gallery
Those bulky VHS tapes and DVD cases that keep popping up in “obsolete things” posts can actually make a unique, conversation-starting gallery wall—especially if you still have the original cover art from old movies or series.
You’ll need:
- Old VHS slipcovers or DVD inserts
- Inexpensive photo frames (thrifted is perfect) OR mini poster hangers
- Scissors or a craft knife
- Double-sided tape or a glue stick
Steps:
- Gather your covers. Pull out your favorite movies, concerts, or shows—go for whatever makes you smile or remember a particular time.
- Size them to fit. Measure your frames and trim the paper covers slightly so they fit snugly under the glass or inside the border.
- Mount the art. Use a tiny bit of double-sided tape or a glue stick to secure each piece of cover art to the frame backing so it doesn’t slide around.
- Arrange on the floor first. Lay all the frames on the floor and play with the layout—grid, row, or a casual cluster. Take a quick photo once you like it.
- Hang your gallery. Transfer your layout to the wall, using your photo as a guide. Start from the center and work outward.
- Style around it. Add a small shelf under your gallery for a DVD or VHS tape, an old game controller, or a mini plant to complete the display.
Encouragement tip: Don’t stress about perfectly matching frames. Mismatched, thrifted frames are very on-trend and fit the “rescued from the past” vibe.
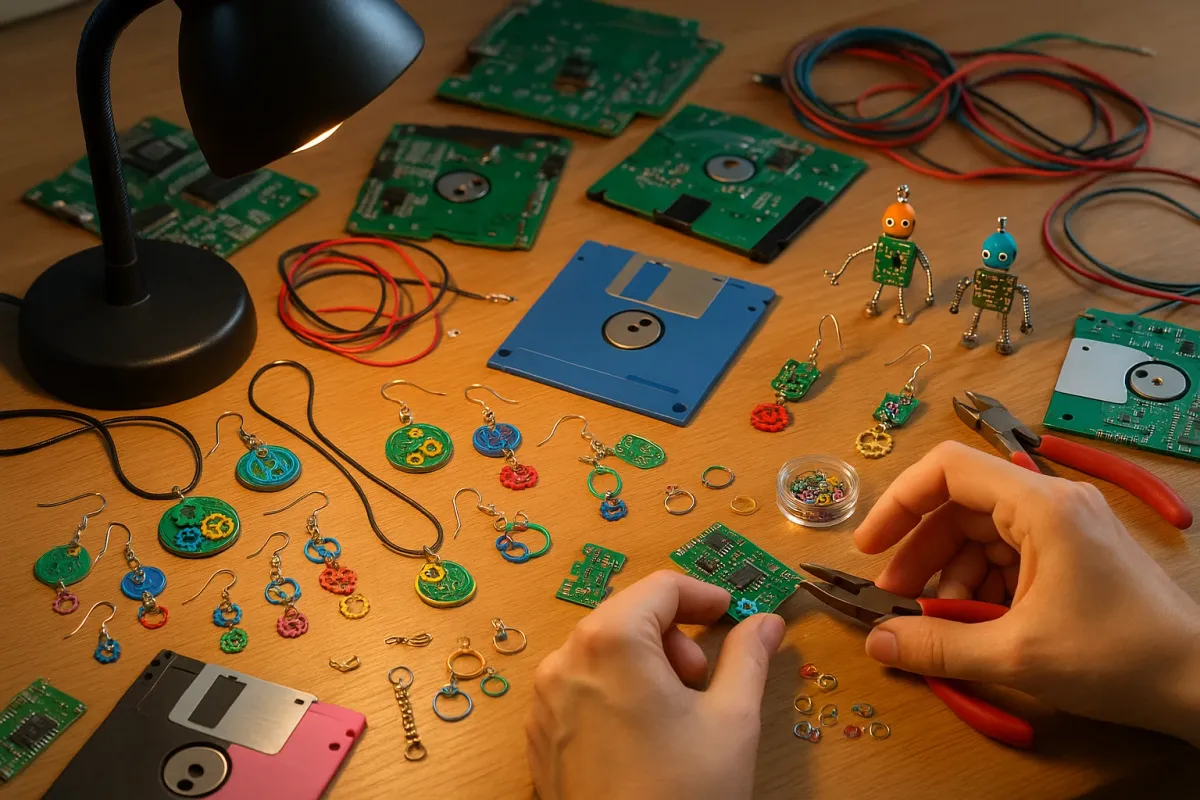
Floppy Disk Coasters (Or Mini Photo Frames)
Floppy disks show up in every “world has moved on” list, but they’re the perfect size for coasters or tiny frames. They’re durable, graphic, and instantly nostalgic.
You’ll need:
- 4–8 old floppy disks
- Self-adhesive cork sheets or felt (for coaster backing)
- Scissors
- Optional: small printed photos, washi tape, labels
For coasters:
- Clean the disks. Wipe both sides dry; avoid soaking them.
- Cut the backing. Trace a disk onto cork or felt and cut out the shape.
- Attach the backing. Stick cork/felt to the underside of each disk (the side with the metal slider is best kept on top for aesthetics). Press firmly.
- Seal (optional). If you’re worried about spills, you can brush a thin layer of clear sealant over the top and let dry.
- Use on your coffee table. These will protect surfaces and spark instant conversation.
For mini photo frames:
- Print tiny photos. Crop and print square or rectangular pics small enough to fit in the label area of the disk.
- Attach photos. Use double-sided tape to stick each photo onto the front “label” space.
- Label or decorate. Add washi tape borders or handwrite the “file name” underneath for fun.
- Display. Stand them in a small dish, prop them on a mini easel, or stick magnets on the back for fridge art.
Encouragement tip: If you only have a couple of disks, mix them in with regular coasters or a photo collage. You don’t need a full set to make it feel intentional.
Mixtape Memory Journal From Old CD Cases
The Bored Panda article mentioned old mixtapes and how they instantly transport you back in time. You can turn that feeling into a physical, crafty project by making a slim “memory journal” from CD cases and old track lists or lyric sheets.
You’ll need:
- 1–3 clear CD jewel cases
- Thin cardstock or scrapbook paper
- Hole punch or awl
- Ribbon, twine, or binder rings
- Pens, markers, stickers, old ticket stubs, photos
Steps:
- Disassemble the cases. Open the jewel cases and gently remove any plastic inserts. Keep the clear front and back pieces.
- Cut your pages. Use the original CD insert as a size guide to cut cardstock or scrapbook paper into rectangles that fit inside the cases.
- Punch binding holes. Stack your pages and punch 2–3 holes along one edge, about 1 cm in from the side. Use this same spacing on the plastic case pieces.
- Bind the journal. Line up the clear plastic pieces like a front and back cover, sandwich the pages between them, and thread ribbon, twine, or binder rings through the holes. Tie or close securely.
- Fill with memories. Add old CD track lists, ticket stubs from concerts, printed playlists from Spotify or Apple Music, photos with friends, or handwritten notes about the music you loved.
- Decorate the covers. Slip a decorated title page into the front cover space, just like an album insert—“Mixtapes 2010–2015” or “Road Trip Songs,” etc.
Encouragement tip: You don’t need perfect hand-lettering or fancy scrapbook supplies. Printed text, cut-out words from magazines, and simple doodles give it just as much heart.
Obsolete Gadget Shadow Box
From early smartphones to pocket cameras and old remotes, outdated gadgets are all over “obsolete things” lists. Instead of a junk drawer, give a few pieces a permanent home in a simple, stylish shadow box.
You’ll need:
- One shadow box frame (craft store or thrifted)
- 2–6 obsolete gadgets (old phone, pager, MP3 player, mini camera, etc.)
- Strong double-sided foam tape or removable adhesive putty
- Background paper or fabric
- Label maker, pen, or printed labels (optional)
Steps:
- Choose a theme. It could be “Old Phones,” “Pre-Smart Camera Gear,” or “My First Tech.”
- Prep the background. Open the shadow box and cover the back panel with paper or fabric using tape or glue. Neutral colors help the gadgets stand out.
- Test the layout. Place your gadgets on the backing without sticking them yet. Aim for balanced spacing with a mix of vertical and horizontal pieces.
- Attach gadgets. Use foam tape or putty on the back of each item and press firmly onto the backing. Heavier items may need more tape.
- Add labels (optional). Write or print small labels with years or funny notes like “My first cell (2004)” or “Charged once a week!” and place near each object.
- Close and display. Put the shadow box back together and hang it or prop it on a shelf.
Encouragement tip: You don’t have to fill every inch. Negative space around each gadget makes the display look intentional and gallery-worthy, even if you’re a total beginner.
Conclusion
The “40 Obsolete Things” style articles are a reminder that technology moves fast—but your memories don’t have to be tossed out with your old devices. With a little crafting, you can turn yesterday’s “junk” into today’s décor, organizers, and memory keepers.
Start with just one project from this list using whatever you already have at home. Take a quick photo of your finished piece and share it—nostalgia crafts are trending, and your simple organizer or shadow box might inspire someone else to rescue their own forgotten treasures from the back of a drawer.