Each project below includes what you need, how long it takes, and step-by-step guidance so you can get it done without feeling overwhelmed.
Tip 1: Create a “Drop Zone” That Tames Everyday Clutter
If your keys, mail, and bags land in a different spot every day, you don’t need more willpower—you need a system. A simple entryway “drop zone” turns chaos into a routine and makes your space feel calmer the second you walk in.
What you’ll need
- A small tray, shallow basket, or plate
- Hooks or removable adhesive hooks
- A small bin or magazine holder for mail
- Optional: small bowl or jar for coins or earbuds
Time estimate: 30–45 minutes
Step-by-step
Pick the exact landing spot
Stand where you usually come in the door. Where do your hands naturally want to put things down? That’s your drop zone—use what you already do, don’t fight it.
Define a surface
Place a tray, basket, or plate on a table, shelf, or even a sturdy box. This is where keys, sunglasses, and daily essentials live. Limiting the space prevents it from becoming a junk pile.
Add a mail home
Put a vertical file organizer, magazine holder, or small bin right next to the tray. Label it “To Sort” or “Mail.” Only today’s items go here; everything else gets tossed or filed.
Install simple hooks
Use removable adhesive hooks on the wall or side of a cabinet for bags, dog leashes, or jackets. Hang them at a height that feels natural as you walk by—no stretching or bending.
Do a one-minute reset test
Pretend you’ve just come home: hang your bag, drop your keys, slide mail into the bin. If anything feels awkward, adjust the layout. When it’s easy, you’ll actually use it.
Tip 2: Upgrade One Cabinet With Peel-and-Stick Organization
Before organizing your entire kitchen or bathroom, start with a single cabinet. A small upgrade can make daily tasks smoother and give you quick proof that your DIY time pays off.
What you’ll need
- Measuring tape
- Peel-and-stick hooks or small adhesive bins
- A notepad or your phone for a quick “what lives here” list
- Optional: shelf liner for a cleaner look
Time estimate: 45–60 minutes
Step-by-step
Choose the most annoying cabinet
Pick the one that makes you sigh every time you open it—maybe under the sink, the spice cabinet, or the bathroom products shelf. The more annoying it is now, the more satisfying the fix.
Empty and sort quickly
Take everything out and group items by how you use them: cleaning supplies, hair products, snacks, spices, etc. Toss anything expired or obviously useless. Don’t overthink it.
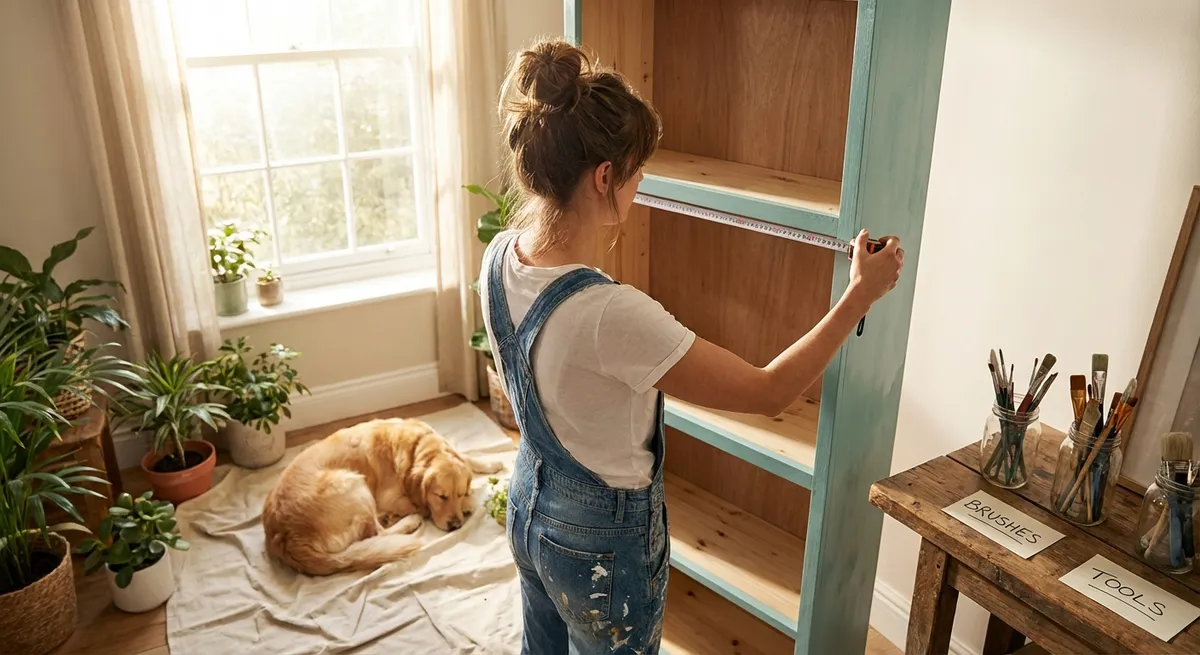
Measure key spaces
Measure the inside of the door and the cabinet depth. This helps you place adhesive hooks or bins so doors still close easily.
Add peel-and-stick helpers
- Use hooks on the inside of the door for small tools (measuring spoons, brushes, scissors, oven mitts). - Attach small adhesive bins for sponges, packets, or small bottles. - If using shelf liner, cut it to size and lay it down now.
Put items back by “task zone”
Group items by what you’re doing, not by type. For example: all cleaning sprays and sponges = “cleaning zone,” all baking ingredients = “baking zone.” Keep the most-used items at the front and eye level.
Label or list
On a sticky note or small piece of paper, write what belongs in that cabinet: “Cleaning: sprays, sponges, gloves” or “Everyday cooking: salt, oil, favorite spices.” Stick it inside the door as a simple guide.
Tip 3: Refresh a Room with a Simple Lighting Swap
You don’t have to rewire your house to make a room feel completely different. Changing one light source or bulb can shift the mood from harsh and flat to warm and inviting.
What you’ll need
- A new bulb (look for “warm white” around 2700–3000K)
- Optional: a basic plug-in lamp, clip-on light, or stick-on puck lights
- A step stool if needed
- Dry hands and a safe, stable footing
Time estimate: 20–40 minutes
Step-by-step
Pick your problem area
Choose the room that feels dim or too harsh—maybe your living room, home office, or bedroom.
Turn off power at the switch
Always turn off the light at the wall before changing bulbs. Let the bulb cool if it’s been on.
Swap to a warmer, efficient bulb
Look for an LED bulb labeled “warm white” (about 2700–3000K). Check the fixture for maximum wattage, but remember LEDs use less power for the same brightness. Screw the new bulb in snugly, but don’t overtighten.
Test and adjust
Turn the light back on. Too bright? Try a lower-lumen bulb. Still dim? Consider adding a second light source instead of just one very strong one.
Add a second light layer
If you can, bring in a simple plug-in lamp, clip-on desk lamp, or battery-powered puck lights under a shelf. Aim for at least two light sources in a room: one overhead, one at eye level.
Check how it feels at night
After dark, stand in the center of the room and notice: Can you read comfortably? Is it relaxing or harsh? Don’t be afraid to move the lamp or change the bulb one more time. Tiny adjustments make a big difference.
Tip 4: Build a Tiny “Repair Kit” So Small Problems Don’t Spiral
You don’t need a giant toolbox to be the person who can fix small things. A simple, grab-and-go repair kit gives you what you need for most everyday issues: loose screws, wobbly handles, or picture-hanging jobs.
What you’ll need
- Small toolbox, shoebox, or sturdy container
- Basic screwdriver with interchangeable heads (flat and Phillips)
- Assorted screws and wall anchors
- Measuring tape
- Painter’s tape or masking tape
- Optional: small level, utility knife, felt pads for furniture
Time estimate: 30–45 minutes
Step-by-step
Gather what you already own
Check drawers, junk bowls, and random boxes. Collect any tools, screws, nails, tape, or hanging hardware in one spot. You may have more than you think.
Choose a single home for everything
Pick a container that’s easy to carry with one hand. Label it clearly: “Home Repair Kit” so you and anyone else in your space knows exactly what it’s for.
Add the true essentials
At minimum, include: - Screwdriver with multiple heads - Measuring tape - A handful of small screws and picture hangers - Painter’s tape (great for marking, labeling, or temporary fixes)
Create a “fix it later” list
Walk through your home and note anything that bugs you: a loose cabinet knob, picture that needs hanging, sticky drawer. Keep this list in the repair kit or on your phone.
Practice on one small fix
Choose the easiest item on your list. For example, tightening a loose handle: - Open the repair kit - Use the screwdriver to tighten the screw - If the screw spins without tightening, swap for a slightly larger screw from your assortment
Build a simple routine
Once a week, grab the kit and your list. Aim to fix just one thing. Over time, you’ll see your space quietly improving—and your confidence growing.
Tip 5: Frame and Hang Art Without the Stress
Bare walls can make a home feel unfinished, but hanging things can feel intimidating. You don’t need a perfect gallery wall to make your space feel more personal—just one thoughtfully placed piece that makes you smile.
What you’ll need
- A frame (store-bought, thrifted, or reused)
- Art, photo, postcard, or print
- Measuring tape
- Pencil
- Nail and hammer, or removable picture-hanging strips
- Optional: level or a small app-based level on your phone
Time estimate: 30–60 minutes
Step-by-step
Choose something that feels like “you”
It doesn’t have to be expensive: a postcard, your own photo, a page from a calendar, kids’ art, or a printable design. The goal is emotional value, not perfection.
Prep the frame
Open the frame, clean the glass if needed, and place your art inside. Use a piece of tape on the back to keep it from sliding around.
Pick the right spot
Stand back and hold the framed piece up on different walls. Notice where it feels balanced: not too high, not too low. Aim for the center of the artwork to be about eye level (typically around 57–60 inches from the floor).
Mark the hanging point
- Measure the distance from the top of the frame to the hanging hardware (hook or wire). - Lightly mark on the wall where you want the top of the frame to be. - From that mark, measure down the distance to the hardware, and make your nail/strip mark there.
Hang with confidence
- If using a nail: tap lightly at a slight upward angle. - If using sticky strips: follow the package directions exactly, especially weight limits. - Hang the frame, then step back and adjust.
Fine-tune the level
Use a level (or a level app on your phone) to check straightness. If it’s slightly off, gently nudge the frame until it’s even. Give yourself permission to stop when it looks right from where you normally stand or sit.
Conclusion
You don’t have to remodel a kitchen or build furniture from scratch to call yourself “hands-on” at home. Simple wins—like a drop zone that catches clutter, a cabinet that actually makes sense, or a single hung picture that makes you smile—are real DIY victories.
Start with one project from this list, not all five. Gather what you need, follow the steps, and let “finished, not perfect” be the goal. Every small project teaches you something, builds your skills, and proves that you can shape your home to fit the way you really live.
When you’re ready, come back, pick another idea, and keep going. Your home doesn’t change overnight—but it does change, one doable project at a time.
Sources
- [Energy.gov: LED Lighting Basics](https://www.energy.gov/energysaver/led-lighting) - Explains LED bulb types, color temperature, and efficiency to help you choose better lighting for your home.
- [U.S. Consumer Product Safety Commission – Household Electrical Safety](https://www.cpsc.gov/safety-education/safety-guides/electrical) - Offers safety guidance for working around electrical fixtures, including basic precautions for changing light bulbs and using lamps.
- [The Spruce: How to Organize a Kitchen Cabinet](https://www.thespruce.com/how-to-organize-kitchen-cabinets-2648001) - Provides practical cabinet organization strategies that align with the “task zone” approach used in this article.
- [IKEA: Lighting Guide](https://www.ikea.com/us/en/rooms/lighting/guide/) - Breaks down different types of home lighting and how to layer them for a more comfortable room.
- [Family Handyman: Basic Hand Tools List](https://www.familyhandyman.com/article/basic-hand-tools-list/) - Covers essential tools for a simple home repair kit, expanding on the items recommended here.