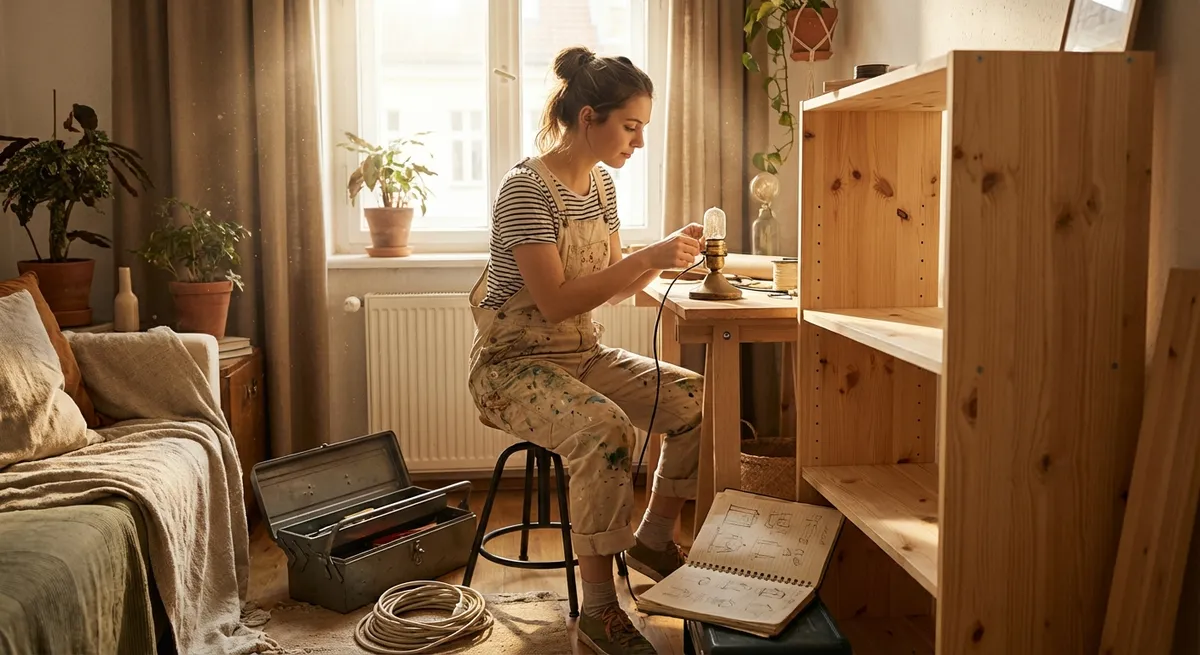
Each tip includes clear steps, basic tools, and ways to adapt if you’re short on time or experience. You can start with just one today and build from there.
1. Learn a Lifetime Skill: Fix a Wobbly Chair or Table
Wobbly furniture is annoying—but it’s also the perfect beginner repair. You’ll learn how pieces are put together, how to tighten fasteners, and how a tiny adjustment can completely change how something feels.
What you’ll need:
- Screwdriver (usually Phillips)
- Adjustable wrench or pliers (optional)
- Wood glue (for wooden chairs/tables)
- Small wood shims or cardboard
- Rag or paper towel
Step-by-step:
- Flip it over safely. Place a towel or blanket on the floor, then gently turn the chair or table upside down so you can see all the joints and screws.
- Check and tighten screws. Use your screwdriver to tighten any loose screws. Don’t over-tighten—stop when the screw feels snug and you feel resistance.
- Test for movement. Gently wiggle each leg where it meets the base or seat. If you see a gap or feel movement, that joint needs extra attention.
- Reinforce wood joints (if needed).
- Loosen the screw slightly.
- Add a small drop of wood glue into the gap.
- Tighten the screw again.
- Wipe away any extra glue with a rag.
- Level uneven legs. If one leg is shorter and causing the wobble:
- Flip the furniture upright.
- Slide a thin piece of cardboard or shim under the short leg until it’s steady.
- Trim the shim so it’s hidden or tape it underneath as a temporary fix.
- Let glue cure. If you used wood glue, avoid heavy use for a few hours (check the glue bottle for exact drying time).
Skill you just learned: Basic mechanical fastening and diagnosing small structural problems—core skills for almost every future DIY project.
2. Boost Daily Comfort: Create a Simple Entryway Drop Zone
Clutter at the front door makes the whole home feel messy. This project teaches you basic organizing, measuring, and “zoning” — the same logic you’ll use in closets, pantries, and craft areas.
What you’ll need:
- A tray, baking sheet, or shallow box for shoes
- Small basket or bowl for keys and wallets
- Hooks with adhesive backs or over-the-door hooks
- Measuring tape (or a piece of string and a ruler)
- Marker or pencil
Step-by-step:
- Watch your own habits. Stand at your entryway and imagine what you drop first: keys, bag, shoes, mail. Each item gets a “home.”
- Place a shoe zone.
- Put your tray or shallow box near the door.
- Leave enough space so the door can open fully.
- Aim for a spot you can reach without walking across the room.
- Add a key and wallet spot.
- Place a small bowl or basket on a nearby table or shelf.
- If you don’t have a surface, use an adhesive hook on the wall for keys.
- Install bag/jacket hooks.
- Use your measuring tape (or string) to measure about 48–60 inches from the floor for adult use, lower if you have kids.
- Mark the spot lightly with a pencil.
- Stick on adhesive hooks or hang over-the-door hooks—no drilling needed.
- Create a mail stand-in spot. A magazine file, basket, or even a shoebox works. Label it “Mail” so everyone knows where to drop it.
- Test your setup. Walk out and in as if you’re arriving home. Can you put everything down in 10 seconds without thinking? Adjust the placement until it feels almost automatic.
Skill you just learned: Planning functional spaces and organizing by behavior—not just by appearance.
3. Upgrade Your Walls: Hang Art Straight Without a Drama Scene
Crooked frames are a common frustration—but hanging art is an easy, confidence-building DIY. You’ll learn leveling, measuring, and how to safely put something on the wall.
What you’ll need:
- Picture frame with hanging hardware
- Tape measure
- Painter’s tape or masking tape
- Pencil
- Hammer and picture hook (or adhesive picture hangers for light frames)
- Optional: Small bubble level or level app on your phone
Step-by-step:
- Choose the right height. A simple rule: center of the artwork at eye level (around 57–60 inches from the floor). This works for most spaces.
- Measure and mark.
- Measure 57–60 inches from the floor and make a small pencil mark.
- Measure the height of your frame and divide by 2.
- Subtract the distance from the top of the frame to the hanging hardware.
- That final number above your original mark is where the hook goes.
(Or use this shortcut: hold the frame where you want it, lightly trace the top corners, then measure down to wherever the hanger will sit.)
- Use tape as a guide.
- If your frame has two hooks, run a piece of painter’s tape between them on the back.
- Mark where each hook hits on the tape.
- Move the tape to the wall, level it, and use the marks to know exactly where to place nails or hooks.
- Install the hook.
- For nails/hooks: Tap gently with a hammer at your marks, angling slightly upward.
- For adhesive strips: Clean the wall, follow the package instructions, and press firmly.
- Hang and level.
- Hang the frame.
- Use your bubble level (or app) to check straightness.
- Adjust slightly until the bubble is centered.
- Step back and check. Look from across the room. Trust your eyes—if it looks just a bit off, tweak it. Tiny adjustments go a long way.
Skill you just learned: Measuring, marking, and installing hardware—skills you’ll reuse for shelves, mirrors, and more.
4. Save Money (and Food): Organize One Kitchen Drawer for Everyday Use
You don’t need a full kitchen remodel to make cooking easier. Start with one drawer—this project teaches decluttering, grouping, and creating simple systems that actually stick.
What you’ll need:
- One messy drawer (utensils, tools, or “junk” drawer)
- Small containers, clean jars, or cut-down cardboard boxes
- Trash bag and recycling bag
- Damp cloth or sponge
Step-by-step:
- Empty the whole drawer. Lay everything on a counter or table. Yes, it will look worse before it looks better—this is normal.
- Sort into quick categories.
- Daily use (spatula, favorite knife, measuring spoons)
- Sometimes use (corn cob holders, cookie cutters)
- Rarely/never use (broken, duplicates, mystery items)
- Decide what really deserves this space.
- Keep daily-use items in this drawer.
- Move sometimes-use items to a less convenient spot.
- Toss or recycle broken or unnecessary items.
- Clean the drawer. Wipe the inside with a damp cloth and let it dry for a minute.
- Add dividers.
- Use small containers, old food jars, or cut-down cardboard boxes to create sections.
- Separate by type: cutting tools, measuring tools, small gadgets.
- Put things back by frequency.
- Most-used items at the front and center.
- Less-used at the back or sides.
- Label if you want extra clarity. A bit of masking tape and a marker can nudge everyone in the house to put things back where they belong.
Skill you just learned: Practical organization and decision-making about what earns prime space—vital for closets, garages, craft rooms, and beyond.
5. Start Basic Repair Skills: Patch a Small Hole in the Wall
Tiny wall damage (from nails, door handles, or bumped furniture) is easier to fix than you might think. This project teaches patching, smoothing, and finishing—core skills for more advanced DIY later.
What you’ll need:
- Spackle or lightweight wall filler
- Putty knife or old plastic card
- Fine-grit sandpaper (around 180–220 grit)
- Damp cloth or sponge
- Optional: Matching wall paint and small brush
Step-by-step:
- Clean the area. Wipe away dust and loose debris with a dry cloth or your hand.
- Apply filler.
- Scoop a small amount of spackle with your putty knife or card.
- Press it firmly into the hole or dent.
- Scrape off extra filler so it’s smooth and as level as possible with the wall.
- Let it dry completely. Follow the directions on the container—usually 30 minutes to a few hours for small spots.
- Lightly sand.
- Once dry, gently sand the area to smooth any ridges.
- Run your hand over it—if it feels flat and even, you’re good.
- Wipe away dust. Use a slightly damp cloth to remove sanding dust. Let dry.
- Touch up paint (if available).
- Dab a small amount of matching paint over the patch with a brush or even a makeup sponge.
- Feather the edges so it blends into the surrounding wall.
Skill you just learned: Basic surface repair—exactly what you need for bigger wall fixes, trim touch-ups, or future painting projects.
Conclusion
You don’t become “good at DIY” by tackling a huge renovation first—you get there by finishing simple, useful projects like these. Each one gives you a real, repeatable skill: tightening, measuring, organizing, hanging, or repairing.
Pick one tip and finish it today. Notice how different your space feels—and how different you feel knowing you did that yourself. Then come back to the list and choose the next skill to build on your momentum. Small wins add up faster than you think.
Sources
- [U.S. Consumer Product Safety Commission – Furniture and TV Tip-Over Information](https://www.cpsc.gov/Safety-Education/Safety-Education-Centers/Tipover-Information-Center) – Guidance on safely handling and stabilizing furniture in the home
- [This Old House – How to Fix a Wobbly Chair](https://www.thisoldhouse.com/furniture/21015094/how-to-fix-a-wobbly-chair) – Step-by-step techniques for tightening and regluing wooden joints
- [IKEA – How high to hang your pictures](https://www.ikea.com/us/en/ideas/how-high-to-hang-your-pictures-pub7a9f01da) – Practical advice on hanging art at visually comfortable heights
- [University of Nebraska–Lincoln Extension – Home Storage and Organization](https://extensionpublications.unl.edu/assets/pdf/g1755.pdf) – Evidence-based tips on organizing home spaces effectively
- [Lowe’s – How to Repair Small Holes in Drywall](https://www.lowes.com/n/how-to/repair-small-holes-in-drywall) – Visual and written instructions for patching wall damage safely and neatly