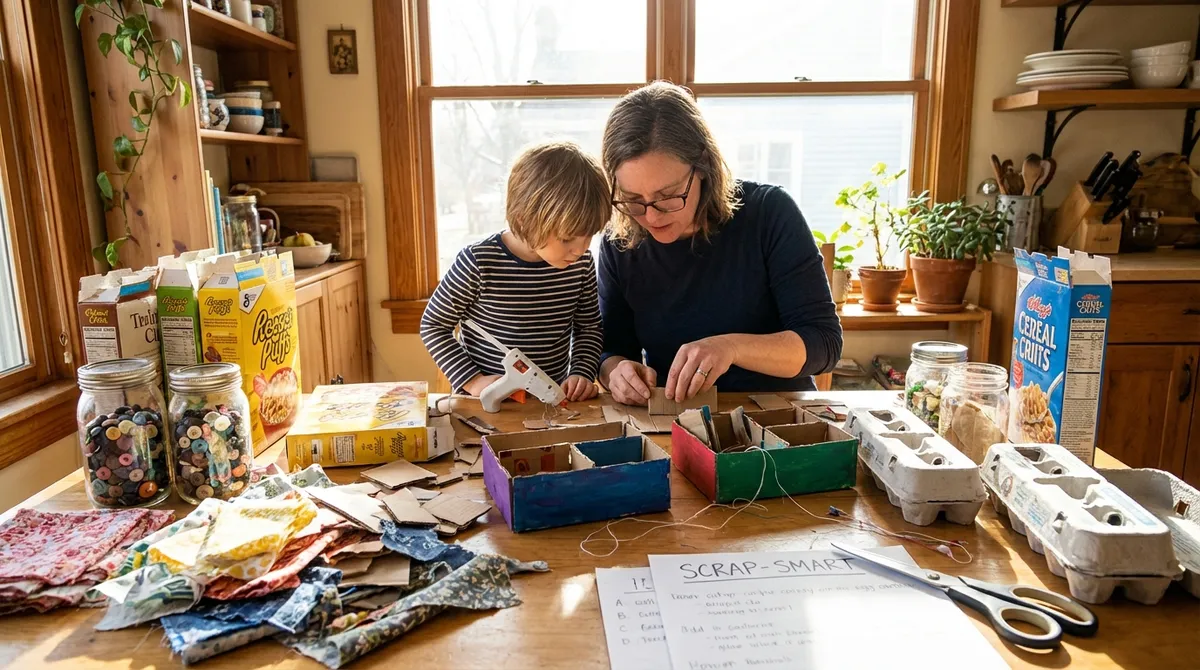
Tip 1: Transform Cardboard into Sturdy Storage Trays
Cardboard boxes from deliveries are basically free craft supplies waiting for a second life. Turn them into shallow trays that keep drawers, desks, and shelves organized.
You’ll need:
- Clean cardboard (shipping boxes, cereal boxes, etc.)
- Ruler
- Pencil
- Scissors or craft knife
- Tape or hot glue
- Optional: wrapping paper, contact paper, or paint
Steps:
- Measure your space. Decide where the tray will live (drawer, shelf, desktop). Measure the length, width, and the height you want (usually 2–3 inches tall).
- Mark your cardboard. On a flat piece of cardboard, draw a rectangle the size of the inside base you want. Then add a border all the way around equal to your desired wall height.
- Cut and score. Cut out the large rectangle. Lightly score (don’t cut through) the lines where the walls will fold up. This makes cleaner edges.
- Fold and secure. Fold the sides up. Overlap the corner flaps and secure with tape or hot glue on the inside. Hold until the glue cools if you’re using hot glue.
- Finish the surface. Wrap the outside in wrapping paper or contact paper, or paint it. If using paper, tape or glue it neatly on the inside edges for a finished look.
- Test and adjust. Place the tray in its spot and make sure it fits. If it’s slightly too big, trim the top edges or shave a little off one side.
Why this works for anyone: Cardboard is forgiving. If you make a mistake, cut another piece. Each tray teaches you the basic box-making skills you can reuse for gift boxes, drawer dividers, or craft organizers.
Tip 2: Turn Glass Jars into Custom Storage (Without Special Tools)
Empty pasta, sauce, or jam jars are perfect for quick, useful crafts—especially if you don’t own a lot of tools. You can create simple, coordinated storage in under an hour.
You’ll need:
- Clean glass jars with lids
- Dish soap and warm water
- Optional: baking soda and cooking oil (for sticky labels)
- Acrylic paint, spray paint, or glass paint markers (optional)
- Twine, ribbon, or fabric scraps (optional)
Steps:
- Prep the jars. Soak jars in warm, soapy water to remove labels. For stubborn glue, rub a mix of equal parts baking soda and cooking oil, then wash again.
- Decide the purpose. Choose what each jar will hold: pens, cotton pads, spices, screws, tea bags, or craft supplies. Knowing the purpose helps you design them intentionally.
- Decorate (optional).
- For a frosted look, tap on acrylic paint with a sponge, leaving a “window” to see contents.
- For easy labeling, leave the jar clear and paint just the lid.
- Use paint markers to write what’s inside once you commit to a use.
- Add simple accents. Wrap twine or ribbon around the neck of the jar and tie a knot or bow. You can also glue a small fabric circle to the lid for a softer look.
- Group for impact. Use 3–5 jars together on a tray or shelf. Grouping them instantly makes them feel like a set—even if they’re all different shapes.
Why this works for anyone: You can keep the jars completely functional and undecorated if you prefer. Cleaning and reusing them is already a win—and any decorating is an optional bonus.
Tip 3: Make No-Sew Fabric Coasters from Old Clothes
T-shirts, flannel shirts, and worn-out pajamas often have good fabric left. Turn that fabric into reusable coasters that protect your tables and add a bit of color.
You’ll need:
- Clean, old clothing made of cotton or flannel
- A mug or small bowl for tracing
- Pen or chalk
- Scissors
- Fabric glue or strong craft glue
- Optional: felt scraps for backing
Steps:
- Choose your fabric. Look for areas without seams or holes. Patterns like stripes, checks, or florals work especially well.
- Create a template. Use a mug or small bowl as a pattern. Flip it upside down on cardboard, trace around it, and cut out the cardboard circle to use as a reusable template.
- Cut fabric circles. Place your template on the wrong side of the fabric, trace it, and cut 2 circles for each coaster you want.
- Add a backing (optional). If you have felt, cut matching felt circles to give the coaster extra thickness and grip.
- Glue the layers.
- If you’re using felt: glue the fabric circle to the felt, fabric side out.
- If you’re not using felt: glue two fabric circles together, wrong sides touching, so both sides show the “good” fabric.
- Press and dry. Smooth out wrinkles and press the layers together. Let them dry flat under a book or cutting board so they don’t curl.
Why this works for anyone: No sewing required, and the circles don’t have to be perfect to work. A slightly wonky edge will still catch drips and protect your table.
Tip 4: Create a Simple Wall Display with String and Clips
If you’re short on space but want a creative area, a hanging display is a low-stress craft that doubles as decor. Use it for photos, kids’ art, notes, or even lightweight tools like scissors.
You’ll need:
- String, twine, or thin cord
- Painter’s tape, small nails, or removable hooks
- Clothespins, binder clips, or paper clips
- Optional: paint or markers to decorate the clips
Steps:
- Pick your spot. Choose a wall, the side of a bookshelf, or the inside of a closet door. Make sure you can easily reach it.
- Measure your width. Decide how wide you want the display. A good starting range is 18–36 inches (45–90 cm) depending on your space.
- Attach the string.
- For a temporary setup, use painter’s tape or removable hooks.
- For a more permanent solution, lightly hammer in two small nails and tie the string around them.
- Keep the string taut but not overly tight.
- Personalize your clips (optional). Paint, color, or washi-tape your clothespins or binder clips. Let them dry.
- Hang your items. Use the clips to attach photos, recipe cards, notes, or small lightweight tools. Rearranging is as simple as unclipping and moving things around.
- Upgrade later if you like. Once you know you love the setup, you can add more rows of string underneath the first one for extra space.
Why this works for anyone: No frames, no precision needed. If you can tie a knot and hang a piece of string, you can make this. It’s also very easy to undo if you’re renting or you change your mind.
Tip 5: Build a Simple “Grab-and-Go” Craft Box
Half the battle in crafting is just getting started. A small, ready-to-use craft box removes the friction of digging around for supplies and makes it easier to act on creative impulses, even when you’re tired.
You’ll need:
- A shoebox, small bin, or leftover container
- Basic scissors
- Glue stick or small bottle of craft glue
- Tape (clear tape or masking tape)
- A pen and small notepad or a stack of scrap paper
- Optional add-ins: colored pencils, washi tape, a few stickers, or any small supplies you already own
Steps:
- Choose your container. Make sure it’s easy to open and light enough to move around. A lid is helpful to keep things dust-free.
- Gather your true basics. Start with: scissors, glue, tape, pen, small stack of paper or notepad. Add only what you know you’ll actually use—this box should feel simple, not stuffed.
- Add “fun” extras from what you already have. Toss in a handful of: colored pencils or markers, washi tape, stickers, small fabric or paper scraps, or a few magazine pages to cut up.
- Label your box. Write something encouraging on the lid like “5-Minute Craft Box” or “Ideas Inside.” This tiny step can make it feel like an invitation instead of just storage.
- Pick a home for the box. Store it somewhere easy to reach: near the couch, on a shelf by your desk, or by the kitchen table. Accessibility matters more than aesthetics here.
- Use it on a small scale. Challenge yourself to one mini-project from the box—decorate a jar, make a simple collage, cut and tape a label, or sketch an idea. The goal isn’t perfection; it’s building a habit.
Why this works for anyone: You’re not committing to a huge project. You’re setting up tiny, low-pressure entries into crafting so it feels more like a break than a chore.
Conclusion
You don’t need a craft room, a giant budget, or a full free weekend to make something useful and satisfying. Start with what you have: leftover cardboard, jars, old clothes, a bit of string, and a small box of basics. Each of these simple projects builds skills—measuring, cutting, gluing, arranging—and gives you quick wins you can actually use around your home.
Pick one tip that feels easiest today and try just the first two steps. Once you see that you can turn everyday leftovers into something helpful, it gets much easier to keep going. Your future self will thank you every time you reach for a neat tray, a custom jar, or your ready-to-go craft box.
Sources
- [Smithsonian Magazine – The Surprisingly Long History of Upcycling](https://www.smithsonianmag.com/innovation/surprisingly-long-history-upcycling-180962091/) - Background on reusing materials creatively and how it’s been part of making for centuries
- [U.S. Environmental Protection Agency (EPA) – Reduce, Reuse, Recycle](https://www.epa.gov/recycle/reducing-waste-what-you-can-do) - Guidance on reducing household waste and practical ways to reuse everyday items
- [Mayo Clinic – The Benefits of Creativity](https://www.mayoclinichealthsystem.org/hometown-health/speaking-of-health/reduce-stress-through-art) - Explains how creative activities like simple crafts can help reduce stress and improve well-being
- [University of Florida IFAS Extension – Upcycling for Sustainability](https://edis.ifas.ufl.edu/publication/FY1490) - Educational overview of upcycling household materials into useful items
- [Goodwill Industries – DIY Upcycling Ideas](https://www.goodwill.org/blog/how-to/repurpose-old-items/) - Practical examples of ways to repurpose and craft with items you already own