Tip 1: Turn Old Jars Into Cozy Candle Holders
Empty jars from pasta sauce or jam can become warm, glowing decor in just a few steps.
You’ll need:
- Clean glass jars (labels removed if possible)
- White glue or decoupage glue (like Mod Podge)
- Tissue paper or thin paper napkins
- Paintbrush or foam brush
- Tealight or LED candle
- Optional: string, ribbon, stickers, pressed leaves
Step-by-step:
- Prep the jar. Wash, dry, and remove any sticky residue. A bit of cooking oil on a paper towel helps lift old label glue.
- Tear your paper. Rip tissue or napkins into small pieces (irregular shapes are great—no perfection needed).
- Add glue. Brush a thin layer of glue on a small area of the jar.
- Layer the paper. Press tissue pieces onto the glued area, overlapping them slightly. Smooth gently with your fingers.
- Seal it. Brush another thin layer of glue over the paper to seal it. Work your way around the jar in sections.
- Let it dry. Leave it for at least 30–60 minutes. The glue will dry clear.
- Decorate the rim. Tie string or ribbon around the top, or add small stickers for extra detail.
- Light it up. Place a tealight or LED candle inside and enjoy the soft, colorful glow.
Make it your own: Try seasonal colors (orange and red for fall, blues for winter) or glue on pressed leaves or dried flowers for a nature look.
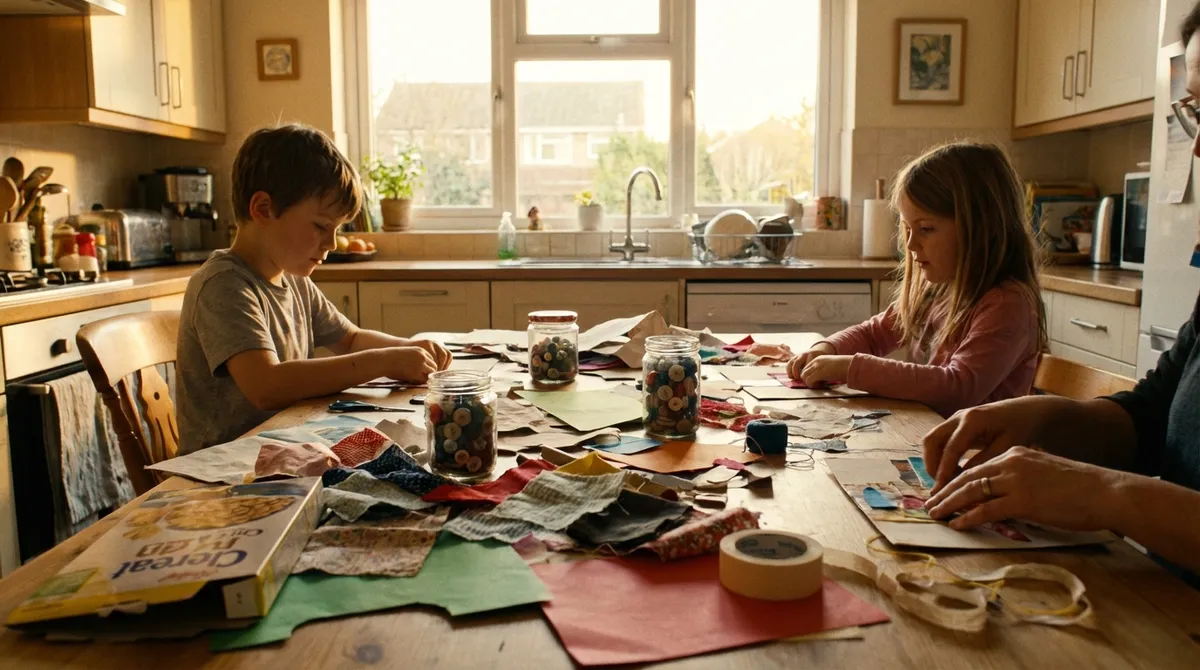
Tip 2: Create a No-Sew Fabric Scrap Bookmark
If you’ve got old T-shirts, worn-out pillowcases, or leftover fabric bits, you’ve got bookmark supplies.
You’ll need:
- Fabric scraps (cotton works best, but t-shirt fabric is fine)
- Cardboard (cereal boxes work great)
- Scissors
- Glue stick or white glue
- Optional: ribbon, marker, hole punch
Step-by-step:
- Cut the base. Cut a strip of cardboard about 1.5–2 inches wide and 5–6 inches long. This is your bookmark base.
- Cut your fabric. Lay the cardboard on the fabric, trace around it leaving a small border (about ¼ inch), and cut it out.
- Glue the front. Apply glue to one side of the cardboard and press it onto the back of your fabric piece. Smooth out any wrinkles.
- Fold the edges. If you left a border, fold the fabric edges over the back and glue them down. If you didn’t, just line the fabric up with the cardboard.
- Cover the back. Cut another piece of fabric or paper the same size as the cardboard and glue it to the back for a clean finish.
- Add a tassel (optional). Punch a hole at the top, thread a short piece of ribbon or yarn through, and tie a knot.
- Let it dry. Give it 20–30 minutes to set before using it in a book.
Make it your own: Use part of a favorite old T-shirt graphic, write your name on the back with marker, or make a matching set for gifts.
Tip 3: Upcycle Cardboard Into Mini Desk Organizers
Instead of tossing delivery boxes, turn them into small trays and pen holders to tidy your workspace.
You’ll need:
- Cardboard boxes (shoe boxes, delivery boxes, cereal boxes)
- Scissors or a craft knife
- Ruler and pencil
- Tape (packing or masking)
- Paper (wrapping paper, craft paper, or magazine pages)
- Glue stick or white glue
Step-by-step:
- Plan your shapes. Decide what you need: a shallow tray for paper clips? A tall box for pens? Sketch quick rectangles to get a sense of sizes.
- Cut the cardboard. Use your ruler to measure and mark, then carefully cut the shapes. Don’t worry if the edges aren’t perfect—you’ll cover them.
- Build the box. Tape the sides together from the inside first, then reinforce the outer seams if needed.
- Test stability. Gently press the sides. If it feels flimsy, add more tape inside at the corners.
- Cover with paper. Cut your paper slightly larger than each side, apply glue, and wrap it around the box like a gift. Fold edges neatly inside.
- Line the inside (optional). Glue another piece of paper inside for a clean, finished look.
- Arrange on your desk. Group a few different shapes together: one for pens, one for sticky notes, one for clips or USB drives.
Make it your own: Use matching paper for a coordinated set or mix patterns for a playful look. Label the fronts with handwritten tags or stickers.
Tip 4: Make Simple Painted Plant Pots (Without Artistic Skills)
Plain pots—terracotta or plastic—are a perfect blank canvas, even if you “can’t draw.”
You’ll need:
- Clean plant pots (terracotta, ceramic, or plastic)
- Acrylic paint or outdoor-safe craft paint
- Small paintbrush or foam brush
- Cup of water and paper towel
- Optional: painter’s tape, clear sealant spray
Step-by-step:
- Prep the pot. Wipe dust or dirt off your pot and let it dry completely.
- Plan a simple design. Stick to easy patterns: stripes, dots, color blocks, or one solid color. Simple looks stylish.
- Base coat (optional). If the pot is dark or has printing, brush on a thin base layer of white paint and let it dry.
- Add color. Paint your design:
- Stripes: Use tape to mark sections and paint between the lines.
- Dots: Dip the end of a paintbrush or pencil eraser into paint and dab dots randomly or in rows.
- Color block: Paint the bottom half one color and leave the top plain, or vice versa.
- Dry and touch up. Let the pot dry for 30–60 minutes, then add a second coat if needed.
- Seal it (recommended for outdoor use). Once fully dry, spray with a clear sealant following the can’s instructions to help protect the paint.
- Pot your plant. Add soil and a plant, or use the pot as a desk caddy for pens or brushes.
Make it your own: Use two or three colors that match your room, or paint a set of pots that coordinate with each other.
Tip 5: Build a Quick “Memory Board” From a Picture Frame
Turn a basic frame into a lightweight board for photos, notes, and small keepsakes.
You’ll need:
- Old picture frame (glass removed)
- Sturdy cardboard (to fit inside the frame)
- Fabric, wrapping paper, or craft paper
- Glue or double-sided tape
- String or thin ribbon
- Tape or stapler
- Small clothespins or paper clips
Step-by-step:
- Prep the frame. Remove the glass and any backing. Keep the frame and the cardboard backing if it came with one.
- Cut the base. If your frame doesn’t have backing, cut a piece of cardboard to fit snugly inside.
- Cover the base. Wrap your cardboard with fabric or paper like a present, securing the back with tape or glue. This is your background.
- Add string lines. Flip it over and tape or staple strings horizontally across the back, spacing them about 2–3 inches apart. Pull them fairly tight.
- Assemble. Place the decorated base into the frame and secure it. Make sure the string side faces forward through the open center.
- Clip your items. Use mini clothespins or paper clips to hang photos, tickets, to-do lists, or inspiring quotes.
- Hang or stand. Use the frame’s hardware to hang it, or lean it on a shelf or desk.
Make it your own: Use neutral fabric for a calm look, bright paper for a fun corner, or mix in handwritten notes you want to see every day.
Conclusion
DIY crafts don’t have to be complicated, expensive, or intimidating. With a few everyday supplies and clear, simple steps, you can turn “junk” into something useful, pretty, or both. Start with one project that feels easiest, give yourself permission to make it imperfect, and notice how good it feels to finish something you made with your own hands. Over time, these small creative wins can build your confidence—and your home will quietly fill up with things that tell your story.
Sources
- [Mod Podge: How to Decoupage](https://modpodgerocksblog.com/learn-how-to-mod-podge/) - Practical guide to using decoupage glue for projects like jars and decor
- [University of Arkansas Extension: Understanding Fabrics for Sewing and Crafting](https://www.uaex.uada.edu/life-skills-wellness/personal-family-well-being/parenting/Understanding-Fabrics.aspx) - Helpful overview of fabric types and how they behave in simple crafts
- [Royal Horticultural Society: Repotting Houseplants](https://www.rhs.org.uk/houseplants/repotting) - Tips for safely potting plants into your freshly painted pots
- [U.S. Consumer Product Safety Commission: Art and Craft Safety](https://www.cpsc.gov/Safety-Education/Safety-Education-Centers/Art-and-Craft-Safety) - Guidance on using craft materials safely at home