Each tip includes easy, step-by-step guidance so you can move from “I should fix that” to “I actually did that” today.
1. Create a Drop Zone So Clutter Stops at the Door
If shoes, bags, and mail explode all over your entryway, a tiny “drop zone” can change your daily chaos. You’re not trying to build custom cabinetry—you’re just giving your stuff a landing pad.
Goal: One small, defined area where keys, bags, and daily items live.
You’ll Need (simple version):
- A basket, small bin, or shoebox
- A hook strip or 2–4 individual wall hooks (adhesive or screw-in)
- A tray, plate, or small shallow container for keys and coins
Steps:
- Choose the exact spot.
Stand where you naturally walk in. Look for a wall, corner, or small surface within arm’s reach of the door.
- Define three zones.
- Wall space for hanging (bags, coats, dog leash)
- Surface for keys, sunglasses, and mail
- Floor or lower spot for shoes or a backpack
- Hang your hooks.
Use adhesive hooks if you’re renting or nervous about drilling. Place them at a comfortable grabbing height (usually around chest level).
- Add your containers.
Put your small tray or dish near the door and a basket or bin on the floor or shelf for quick “drop it here” storage.
- Test it for a day.
When you walk in, force everything into the new zones. Adjust hook height or basket location if it feels awkward.
Encouraging check-in:
If your drop zone looks a little mismatched, that’s fine. Function first, “pretty” second. You can upgrade containers later—today you’re building the habit.
2. Refresh a Room with a Simple Lighting Switch-Up
Lighting is one of the fastest ways to make a room feel bigger, warmer, or calmer—without painting a single wall.
Goal: Make one room feel noticeably better just by improving its lighting.
You’ll Need (choose a few):
- Two or three lamps you already own (or budget-friendly new ones)
- LED bulbs (ideally “soft white” or “warm white” around 2700K–3000K)
- An extension cord or power strip if outlets are awkward
Steps:
- Pick one room to improve.
Start with the room you use the most: living room, bedroom, or home office.
- Turn off the overhead light.
Look at the space in natural light. Where does it feel dark, gloomy, or flat?
- Place lighting in layers.
- One lamp for general light (corner of the room)
- One lamp for tasks (side table near a chair, desk light)
- Optional: a small accent light (bookshelf, dresser, or windowsill)
- Swap your bulbs.
Choose warm white LEDs (2700K–3000K) for cozy spaces and neutral white (3500K–4000K) for work areas. Match color temperature across lamps so the room feels consistent.
- Test at night.
Walk into the room in the evening. If it still has harsh shadows or feels dim, adjust lamp positions or add one more smaller light.
Encouraging check-in:
You don’t need designer lamps to get a big payoff. Even a basic floor lamp plus a desk lamp can transform a room from “tired” to “welcoming.”
3. Tame One Cabinet with Simple, No-Build Organizing
You don’t have to “reorganize the kitchen.” You just have to conquer one cabinet or drawer where frustration lives (like the one that attacks you with plastic lids).
Goal: Turn one annoying cabinet into a space you can open without swearing.
You’ll Need (use what you have first):
- 2–4 small boxes, bins, or shoeboxes
- A marker and sticky notes or labels (optional but helpful)
- A trash bag and a bag for donations
Steps:
- Pick the one worst cabinet.
The one that makes you roll your eyes every time you open it—that’s your target.
- Empty it completely.
Put everything on a clear surface. Yes, it will look worse before it looks better. That means it’s working.
Sort into three quick piles:
- Keep and use often - Keep but use rarely - Let go (trash, recycle, or donate)
- Create simple zones inside the cabinet.
Use boxes or bins as “walls”:
- One bin for lids
- One for reusable containers
- One for baking supplies, snacks, or whatever fits your cabinet
- Label lightly (optional but powerful).
Use sticky notes or simple labels like “Lids,” “Containers,” “Baking,” so things can find their way back.
Encouraging check-in:
If you get tired halfway through, just finish that one cabinet. Do not start a second area. Finishing one small space builds the confidence to tackle the next one another day.
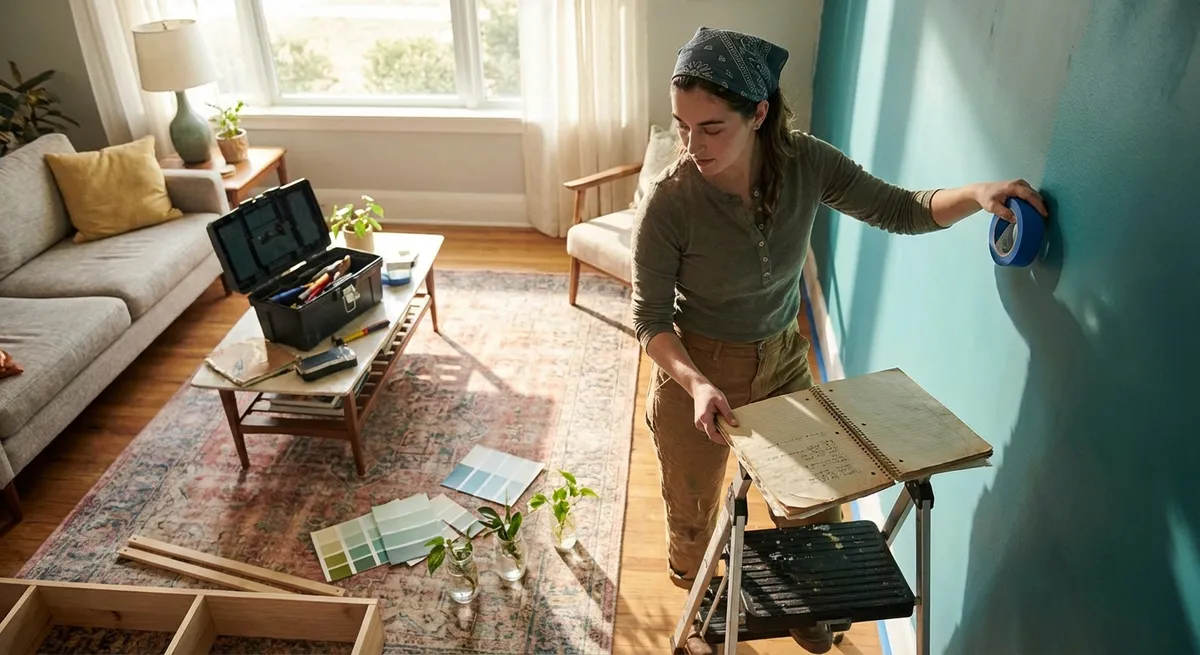
4. Patch and Refresh Tiny Wall Imperfections
Those little nail holes, scuffs, and dings make a room feel more worn-out than it is. Fixing them sounds like “real DIY,” but it’s actually beginner-friendly.
Goal: Make your walls look cared for by fixing a few small, obvious flaws.
You’ll Need:
- Lightweight spackling compound
- A putty knife or an old plastic card
- Fine-grit sandpaper (around 220 grit)
- A small paint sample that matches your wall (or leftover paint)
- A damp cloth
Steps:
- Find your top trouble spots.
Walk around and mark nail holes, dents, and chips with small pieces of painter’s tape or sticky notes.
- Clean the area.
Wipe off dust and grime with a damp cloth so the spackle and paint will stick.
- Fill tiny holes and dents.
Use a fingertip or putty knife to press a little spackle into each hole. Scrape off the extra so it’s roughly flush with the wall.
- Let it dry, then sand lightly.
Follow the dry time on the package (usually 30 minutes–a few hours). Lightly sand until smooth to the touch.
- Touch up with paint.
Use a small brush or even a cotton swab for tiny spots. Feather the edges so the new paint blends into the old.
Encouraging check-in:
You don’t have to do every wall in your home. Even fixing five of the most obvious spots can make a room feel freshly cared for.
5. Build a Simple “Fix-It” Toolkit from Almost Nothing
Many people stall on home projects because they feel unprepared. A minimal, basic toolkit removes the biggest excuse: “I don’t have the right tools.”
Goal: Create a small, grab-and-go toolkit so future DIY feels less intimidating.
You’ll Need (starter version):
- Hammer
- Phillips and flathead screwdriver (or 1 multi-bit screwdriver)
- Measuring tape
- Utility knife or strong scissors
- Assorted picture-hanging kit or wall hooks
- Small container or toolbox (even a shoebox is fine)
Steps:
- Gather what you already have.
Check drawers, closets, and your car. You may own more tools than you realize.
- Fill the gaps with a starter set.
If you’re missing basics, a small pre-made toolkit from a hardware store can be cheaper than buying items individually.
- Give your tools a permanent home.
Choose an easy-to-grab spot: a hallway closet shelf, under the sink, or a bin on a bookcase.
- Add a simple “project list.”
Keep a sticky note or index card inside your toolkit with a few tiny tasks you want to handle later (like “tighten wobbly chair legs” or “hang calendar”).
- Use your kit this week.
Pick one micro-task from your list and do it using your new toolkit. The goal is to prove to yourself that you do know how to use what you own.
Encouraging check-in:
Your toolkit doesn’t need to look professional. It just needs to be all in one place so that when you have 10 minutes and a burst of energy, you’re ready.
Conclusion
You don’t need a full “home makeover” to feel proud of your space. You just need a few finished wins you can see and use every day—a calmer entryway, a brighter room, a cabinet that behaves, cleaner walls, a ready-to-go toolkit.
Pick one of these five projects and give it 30–60 minutes. When you’re done, pause and actually notice the difference. That feeling—“I made this better”—is the foundation of every bigger DIY skill you’ll build from here.
You’re not behind. You’re just one small project away from momentum.
Sources
- [U.S. Department of Energy – Energy Saver: Lighting Choices](https://www.energy.gov/energysaver/lighting-choices-save-you-money) - Explains different types of light bulbs, color temperatures, and how lighting affects energy use and comfort
- [Consumer Product Safety Commission – Tool Safety Tips](https://www.cpsc.gov/Safety-Education/Safety-Guides/tools) - Provides basic safety guidance for using common household tools in DIY projects
- [Lowe’s Home Improvement – How to Patch and Repair Drywall](https://www.lowes.com/n/how-to/patch-and-repair-drywall) - Step-by-step instructions for filling holes and repairing small wall damage
- [The Spruce – Entryway Organization Ideas](https://www.thespruce.com/entryway-organization-ideas-4587965) - Practical inspiration for creating functional drop zones and entry storage
- [Family Handyman – Simple Home Storage and Organizing Tips](https://www.familyhandyman.com/list/simple-home-storage-and-organizing-tips/) - Real-world strategies for tackling clutter in cabinets, drawers, and small spaces