Tip 1: Create a No-Drill Entryway Organizer
A cluttered entryway makes leaving the house stressful and coming home feel chaotic. You don’t need to build custom cabinets to fix it—just a simple, stable system that keeps keys, bags, and mail off every surface.
Goal: A grab-and-go landing zone using minimal tools and mostly no-drill solutions.
You’ll need:
- Over-the-door hooks or a freestanding coat rack
- Small tray or shallow basket for keys and wallets
- Medium basket or file sorter for incoming mail
- Doormat or shoe tray
- Optional: removable adhesive hooks (Command-style)
Steps:
- Choose your spot. Pick the doorway everyone uses most (front, back, or garage). Your system should be where your habits already are, not across the house.
- Define “drop zones.” Decide where keys, mail, bags, and shoes will go. Give each category a specific, visible place.
- Install hooks without drilling.
- Hang an over-the-door rack for coats and bags, or
- Place a freestanding coat rack near the door.
- Set up a key station. Place a small tray or shallow basket on a console table, shelf, or even a narrow wall-mounted ledge. Make a household rule: keys never leave this tray.
- Contain incoming mail. Use a medium basket or a file sorter labeled “To Sort.” Everything goes there instead of kitchen counters. Plan a weekly 10-minute “mail sort” time.
- Manage shoes. Put a washable doormat or plastic shoe tray by the door. Limit it to the shoes you wear most often; extras go in closets or under the bed.
- Test and adjust. Live with your setup for a week. If a category keeps landing somewhere else (like backpacks on the floor), add a hook or basket exactly where that pile tends to form.
If you rent, this keeps the walls damage-free.
You’ve now solved a daily pain point without a single power tool—just better structure around your natural habits.
Tip 2: Brighten a Room by Upgrading Light Bulbs (Not Fixtures)
Many rooms feel gloomy not because of bad fixtures, but because of the wrong bulbs. Swapping bulbs is one of the simplest DIY “renovations” you can do—no wiring, no electrician, just smarter choices.
Goal: Make spaces feel brighter and more pleasant with safer, more efficient lighting.
You’ll need:
- LED bulbs (look for “soft white” 2700–3000K for cozy, “daylight” 4000–5000K for task areas)
- Step stool (if needed)
- Old bag or box for recycling/disposal of old bulbs
Steps:
- Identify your problem areas. Walk through your home at night and note which rooms feel too dim, too yellow, or too harsh.
- Check your fixtures. Look at the maximum wattage listed inside the fixture (e.g., “Max 60W”). When buying LEDs, match brightness (lumens) instead of watts, but stay under the posted wattage to be safe.
Choose the right color temperature:
- Living rooms/bedrooms: “Soft white” or “warm white” (2700–3000K) for a cozy, relaxing feel. - Kitchens/bathrooms/offices: “Daylight” (4000–5000K) for clearer visibility and better task lighting. 4. Turn off the power. Switch off the light and let bulbs cool for a few minutes before touching them. 5. Swap the bulbs. Use a step stool, not a chair, for stability. Unscrew old bulbs and replace them with the new LEDs. 6. Adjust as needed. If a room feels too harsh, step down to a warmer bulb. If it still feels dim, try brighter bulbs (higher lumens) within the fixture’s safe range. 7. Dispose or recycle properly. LEDs can usually go in the trash (check local rules), but compact fluorescent (CFL) bulbs should be recycled at designated collection points.
In less than an hour, you can completely change how your home feels—brighter, safer, and more energy-efficient.
Tip 3: Build a Simple Under-Sink Cleaning Station
Under-sink spaces often become black holes of half-used cleaners and mystery bottles. A simple organizing system turns that chaos into a functional “cleaning station” you can actually use—no cabinetry skills required.
Goal: Turn a messy cabinet into a tidy, easy-to-access cleaning hub.
You’ll need:
- Small tension rod (for spray bottles)
- A couple of plastic bins or baskets (shoebox-sized)
- Labels or painter’s tape + marker
- Old towel or shelf liner (optional, for spills)
Steps:
- Empty everything out. Take all cleaners, sponges, and supplies out from under the sink. Toss empty bottles and anything you don’t use.
- Wipe and protect the base. Clean the cabinet floor. If you have shelf liner or an old towel, lay it down to catch future drips.
- Install a tension rod. Position it near the front or middle of the cabinet, high enough for spray bottles to hang by their triggers.
- Hang spray bottles. Hook the trigger handles over the rod—this frees up floor space and makes bottles easier to see and grab.
- Sort by purpose. Group items into simple categories:
- Daily cleaning (multi-surface spray, dish soap, sponges)
- Deep cleaning (bathroom cleaner, degreaser, scrub brushes)
- Extras (dishwasher tabs, trash bags, rubber gloves)
- Use bins to contain categories. Place each group into a separate bin. Label each bin (e.g., “Daily,” “Bathroom,” “Trash Bags”).
- Set a “one in, one out” rule. When a new cleaner comes in, finish or remove an old duplicate. This keeps the space usable instead of overcrowded.
Now, when you need to clean, you won’t be digging around in a dark cave—you’ll slide out a clearly labeled bin and get straight to work.
Tip 4: Quiet Squeaky Doors and Creaky Hinges
That door that squeals at 6 a.m.? The cabinet that screams every time you grab a glass? These are tiny daily annoyances—but they’re quick, confidence-building fixes you can absolutely handle.
Goal: Stop squeaks and creaks with basic lubrication and simple adjustments.
You’ll need:
- Multi-purpose household lubricant (like WD-40) or silicone spray
- Paper towels or a rag
- Optional: Old toothbrush or cotton swabs
Steps:
- Identify the noise source. Open and close the door slowly. Listen for whether the sound comes from the top, middle, or bottom hinge.
- Protect nearby surfaces. Place a rag or paper towel under the hinge to catch drips. If you’re using spray, hold a paper towel behind the hinge as a shield.
- Apply lubricant sparingly.
- Aim the straw (if your can has one) directly at the hinge pin line.
- Use one short spray or a small drop—not a soak.
- Work it in. Open and close the door several times so the lubricant spreads inside the hinge. Wipe away any excess drips.
- Clean up buildup (if needed). If hinges are dirty, use an old toothbrush or cotton swab to remove grime before or after lubricating.
- Repeat if necessary. If it still squeaks, apply a tiny bit more and work the hinge again.
- Check other doors and cabinets. Once the can is out, do a quick “squeak patrol” around the house. You’ll fix multiple annoyances in just a few minutes.
This small win builds DIY confidence—proof that you can solve everyday problems with simple actions.
Tip 5: Refresh a Room with a No-Paint Wall Upgrade
Repainting a whole room can feel overwhelming. Instead, pick one wall or one visual area and give it a fast, low-commitment upgrade that still makes the space feel new.
Goal: Change the look of a space using removable or minimal-damage options.
You’ll need (choose what fits your space and budget):
- Removable peel-and-stick wallpaper or
- A set of removable wall decals or
- A few framed prints and picture-hanging strips
Steps (for peel-and-stick wallpaper or decals):
- Pick a small area. Choose one accent wall or even just the space behind a bed, desk, or sofa. Smaller areas are easier to finish and still have big impact.
- Prep the wall. Wipe it down with a slightly damp cloth to remove dust and let it dry completely.
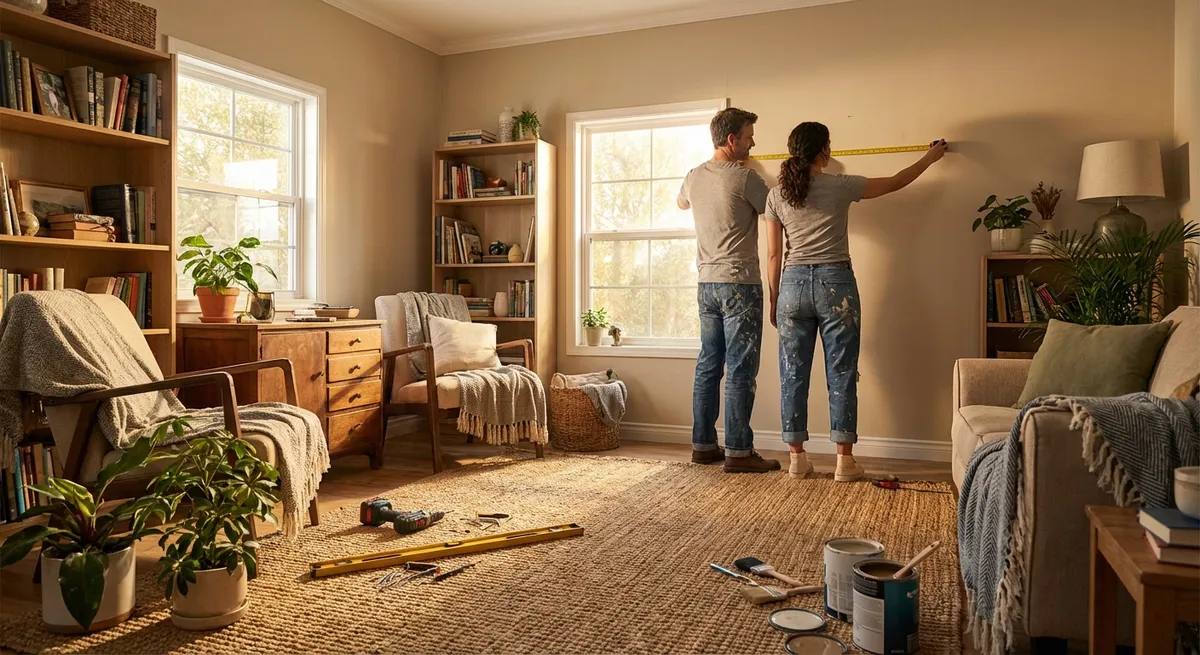
- Measure before you buy. Measure wall height and width to estimate how many rolls or sheets you need. Add a bit extra for mistakes and pattern matching.
- Start from the top. Peel back a small section of the backing paper and stick the top of the panel to the wall, smoothing as you go downward.
- Smooth out bubbles. Use the side of a plastic card (like an old gift card) wrapped in a soft cloth to press out air bubbles from the center outward.
- Trim edges carefully. Use a utility knife or scissors along the baseboard and corners once the wallpaper is firmly in place.
- Step back and adjust. If a piece goes on crooked, gently peel it off and reposition. That’s the beauty of removable products—they’re forgiving.
Steps (for framed prints with minimal damage):
- Create a simple layout. Lay frames on the floor and arrange them until the spacing looks good. Take a quick photo to use as a reference.
- Use picture-hanging strips. Follow the package instructions—most require pressing firmly for a set time.
- Start with the largest piece. Hang the main frame first at eye level, then build your arrangement around it.
- Fine-tune spacing. Stand back, adjust slightly, and don’t stress about perfection. A little asymmetry can look intentional and relaxed.
You’ve just transformed a room without opening a paint can or drilling a single hole (unless you wanted to).
Conclusion
You don’t need a workshop, a truckload of tools, or a full weekend to improve your home. By focusing on small, specific wins—like a calmer entryway, brighter lighting, a tidy cleaning station, quieter doors, or a refreshed wall—you build both comfort and confidence, one project at a time.
Pick one of these tips and do it this week. Finish it, notice how daily life feels a bit easier, and then move on to the next. Your home doesn’t get better all at once—it improves every time you take one simple, doable step.
Sources
- [U.S. Department of Energy – Energy Saver: Lighting Choices to Save You Money](https://www.energy.gov/energysaver/lighting-choices-save-you-money) - Clear guidance on choosing efficient bulbs and understanding brightness and color temperature
- [Consumer Product Safety Commission – Household Electrical Safety Tips](https://www.cpsc.gov/safety-education/safety-guides/electrical-safety/household-electrical-safety-tips) - Essential safety information for working around electrical fixtures and outlets
- [The Home Depot – How to Install a Tension Rod](https://www.homedepot.com/c/ah/how-to-install-a-tension-rod/9ba683603be9fa5395fab901d3a0a27) - Simple visual guide to using tension rods effectively in cabinets and closets
- [Command Brand (3M) – How to Use Command Picture Hanging Strips](https://www.command.com/3M/en_US/command/how-to-use/hanging-strips/) - Official instructions for damage-minimizing wall hanging solutions
- [EPA – Responsible Management of Used Fluorescent Bulbs](https://www.epa.gov/hw/household-hazardous-waste-hhw#fluorescent) - Guidance on safe disposal and recycling of CFL and other fluorescent bulbs