This guide walks you through five beginner-friendly DIY ideas using common materials you probably already have. Each project is broken into simple steps so you can follow along at your own pace—no perfection required.
Tip 1: Jar Makeover – From Food Container to Countertop Organizer
Instead of tossing glass jars (sauce, pickles, jam), turn them into organizers for your desk, bathroom, or craft supplies. This is a low-pressure project that’s easy to customize.
You’ll need:
- Clean glass jar with lid (label removed)
- Dish soap and warm water
- Rubbing alcohol or glass cleaner
- Acrylic craft paint or spray paint (optional)
- Painter’s tape (optional)
- Permanent marker, stickers, or label maker (optional)
Step-by-step:
Clean and prep the jar
Wash the jar with warm, soapy water and remove any labels. For stubborn glue, soak in hot water with a little dish soap, then gently scrub. Wipe the outside with rubbing alcohol so paint or labels stick well.
Decide on the finish
- Want a clear jar? Leave the glass bare and decorate only the lid or add a label. - Want color? Use acrylic paint on the outside or spray paint (outside or in a well-ventilated area).
Paint (if using)
- For acrylic paint: apply a thin coat with a brush on the outside only. Let dry and add a second coat if needed. - For spray paint: lightly spray from about 8–12 inches away. Several thin coats are better than one thick coat to avoid drips.
Add details
Use painter’s tape to create stripes or geometric shapes before painting. After it’s dry, carefully peel the tape away. You can also add a simple hand-drawn label with a permanent marker or stick on a printed label.
Put it to work
Use your jar for cotton rounds, makeup brushes, pasta, tea, pens, or small tools. Nothing fancy—just a clean, customized container you’ll see and use every day.
Tip 2: Cereal Box to Charging Station – Simple Cord Tamer
Cereal and snack boxes are almost the perfect shape for holding and hiding device chargers. With a little trimming and covering, you can create a simple charging station that keeps cables contained.
You’ll need:
- One sturdy cereal or cracker box
- Scissors or craft knife
- Ruler and pencil
- Tape or glue stick
- Wrapping paper, kraft paper, or scrapbook paper
- Optional: hole punch or craft knife for cable openings
Step-by-step:
Flatten and study the box
Open both the top and bottom flaps. Look at the size: you’re aiming for a shallow “tray” rather than a deep box.
Mark your height
Decide how tall you want the front and back (3–4 inches works well). Use a ruler and pencil to draw a straight line all around the box at that height.
Cut to shape
Cut along your lines to remove the top half of the box, creating a tray. If you’d like slightly angled sides (easier access), trim the front a bit lower than the back.
Reinforce and refold
If the sides feel flimsy, fold a small edge inward (¼–½ inch) and tape or glue down to make them sturdier.
Wrap and cover
Wrap the outer surface in decorative paper, just like wrapping a gift. Glue or tape the paper in place, smoothing as you go. Fold the paper neatly over the top edges and secure.
Add cable openings (optional)
Punch or cut small half-circle openings along the back edge for cords to pass through if you’ll be plugging things in behind the station.
Fill it up
Place a power strip behind or beside it, thread charging cables through, and park your devices in the tray while they charge. Instant order from something you almost threw away.
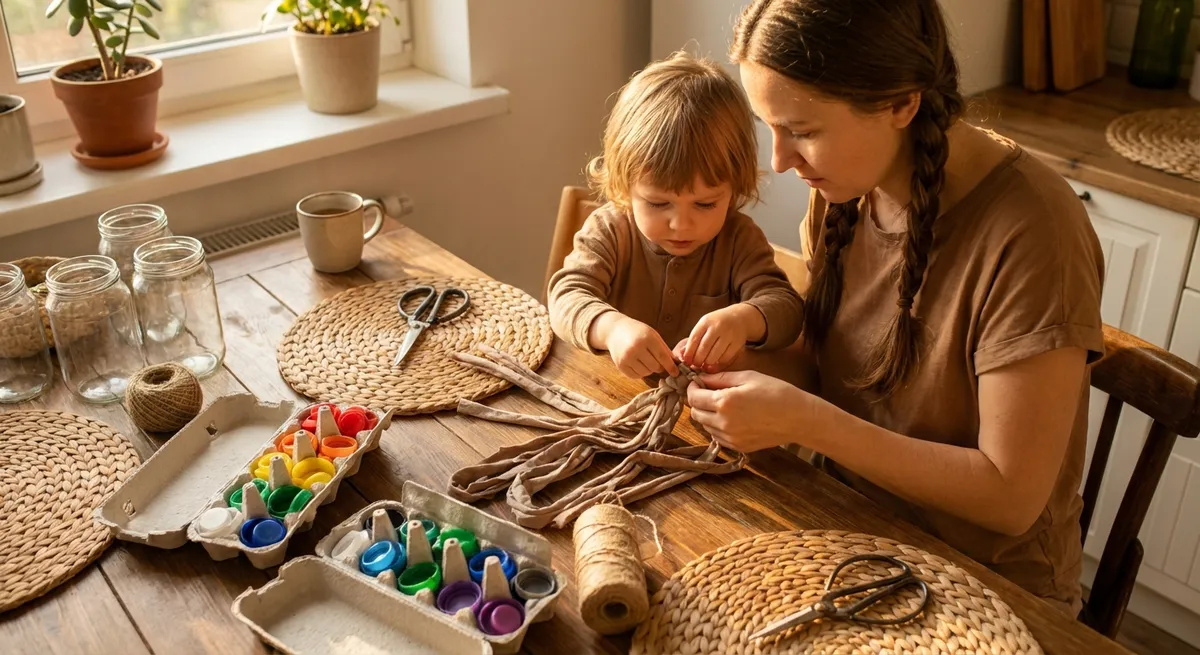
Tip 3: No-Sew T-Shirt Tote – Upcycle a Shirt in Under 30 Minutes
Old T-shirts are ideal for a quick, sturdy tote bag—no sewing machine necessary. The stretch in the fabric works in your favor here.
You’ll need:
- One clean T-shirt (the thicker the better)
- Scissors (fabric scissors are best)
- Ruler or measuring tape
- Chalk or washable marker (optional)
Step-by-step:
Lay out the shirt
Spread the shirt flat on a table, smoothing out wrinkles. Line up the hems so front and back match.
Cut off the sleeves
Cut along the seam where the sleeves attach, creating armhole-like openings. This will be the opening of your tote’s handles.
Shape the neckline
Cut a deeper “U” from the neck opening, similar to a tank top. The deeper you cut, the wider your bag opening will be. Use a bowl as a guide if you want a smooth curve.
Mark the bottom fringe
Decide how deep you want the bag (remember, you’ll lose some length to the fringe). Flip the shirt so the bottom hem is at the top of your workspace. Measure about 3–4 inches up from the bottom and draw a straight line across the shirt. This marks how tall your fringe will be.
Cut the fringe
Keeping front and back together, cut vertical strips from the bottom hem up to your line, about 1 inch wide. You’re making “pairs” of fringe from front and back layers.
Tie the bottom closed
Knot each pair of front and back strips together along the bottom. Then, to close any gaps, tie each front strip to the neighboring back strip next to it. This double-knot method helps prevent holes.
Test the tote
Turn the bag inside out if you want the knots inside (optional). Gently tug on the handles and the bottom to make sure everything feels secure. You’ve just turned a forgotten shirt into a reusable bag.
Tip 4: Simple Scrap Paper Notepad – Turn Junk Mail into Something Useful
If you’ve got a stack of junk mail, misprints, or kids’ practice sheets, you already own the makings of a small notepad. This is a fast way to make grocery or to-do list pads.
You’ll need:
- Stack of used paper (blank on one side is ideal)
- Scissors or paper cutter
- Binder clips or large paper clips
- White school glue or craft glue
- Small brush or cotton swab
- Heavy book or something flat and weighted
Step-by-step:
Sort your paper
Pull out sheets that have at least one blank side. Remove anything glossy (magazines are hard to write on).
Cut to size
Cut the paper into equal rectangles. Common sizes: - Quarter sheets (about 4.25" × 5.5") from standard printer paper - Skinny list pads (about 3" × 8") Try to keep the edges as even as possible.
Stack and align
Neatly stack 30–80 sheets, blank sides facing the same way. Tap the stack on the table to line up one edge—the side you’ll glue.
Secure the stack
Place binder clips on the sides, leaving the glued edge clear. Slide the stack so the glue edge is just slightly hanging off the table edge, to keep it accessible.
Apply glue
Using a brush or cotton swab, spread a thin, even layer of glue across the aligned edge. You want full coverage but not dripping. Wipe away any excess.
Press and dry
Place a heavy book or flat object gently on top and let it dry for at least 30–60 minutes. For extra strength, add a second layer of glue once the first is dry.
Use your notepad
Once fully dry, remove the clips. You’ve made a tear-off notepad from paper that was headed for the bin.
Tip 5: Cardboard Wall Art – Low-Cost Decor with High Impact
If bare walls are bugging you but framed art isn’t in the budget, cardboard can step in. Painted or covered cardboard shapes can create modern, lightweight wall art that looks surprisingly upscale.
You’ll need:
- Clean cardboard (shipping boxes work well)
- Pencil and ruler
- Scissors or craft knife
- Acrylic paint and brush or decorative paper and glue
- Painter’s tape (optional, for patterns)
- Command strips, poster putty, or small nails for hanging
Step-by-step:
Choose a simple shape
Start with basic shapes: circles, rectangles, arches, or half-moons. Simple is easier to cut and arrange. Sketch a few ideas on scrap paper first.
Draw shapes on cardboard
Use a ruler for straight edges, or trace bowls/plates for circles. Aim for 3–7 pieces that coordinate in size for a small “gallery” cluster.
Cut the shapes
Carefully cut along your lines with scissors or a craft knife (using a cutting mat or thick junk mail beneath to protect your table).
Plan your color palette
Limit yourself to 2–4 colors that go with your room—neutrals plus one accent color work well. This keeps everything looking cohesive, even with simple materials.
Paint or cover
- For paint: apply a base coat, let dry, then add a second coat for solid coverage. Use painter’s tape to create stripes or color blocks. - For paper: trace your shape onto decorative paper, cut it out slightly smaller, and glue it onto the cardboard. Smooth out bubbles as you go.
Test your layout
Arrange the pieces on the floor or a table to find a layout you like—clustered, in a line, or staggered. Take a quick photo so you can copy the arrangement on the wall.
Hang with removable options
Attach small pieces of Command strips or poster putty to the back and press onto the wall. Because the art is lightweight, you don’t need heavy hardware, and you can easily rearrange.
Conclusion
You don’t need a studio, special talent, or a big shopping list to start crafting. With jars, boxes, old T-shirts, scrap paper, and cardboard, you can make useful pieces that actually fit into your day-to-day life. Start with one project that feels easiest, give yourself permission for it to be imperfect, and notice how your eye changes—you’ll start seeing “raw materials” instead of “trash” everywhere.
Each small project builds your confidence, your skills, and your sense that you can make things with your own hands. That’s the real win.
Sources
- [Mod Podge Rocks: How to Paint Glass Jars](https://modpodgerocksblog.com/how-to-paint-glass-jars/) – Practical tips for prepping and painting glass so it lasts
- [University of Nebraska–Lincoln Extension: Reusing and Recycling Household Items](https://extensionpublications.unl.edu/assets/pdf/g1965.pdf) – Educational guide on creative reuse and simple upcycling ideas
- [Iowa State University Extension: T-Shirt Bag Instructions](https://www.extension.iastate.edu/blackhawk/news/make-t-shirt-bag) – Step‑by‑step instructions for turning T-shirts into bags
- [U.S. Environmental Protection Agency (EPA): Reduce, Reuse, Recycle](https://www.epa.gov/recycle) – Background on why reusing materials at home matters for waste reduction
- [Cleveland Institute of Art: DIY Upcycled Art Projects](https://www.cia.edu/news/stories/reduce-reuse-recreate-six-diy-upcycled-art-projects) – Inspiration for turning everyday items into creative wall art and decor