Each tip includes clear steps you can follow today with basic tools and supplies.
Tip 1: Build a Basic Home Repair Toolkit (Without Overspending)
Before you start fixing things, you need a small set of reliable tools. You don’t need the entire hardware store—just a focused starter kit.
Goal: Put together a simple toolkit that handles most everyday jobs.
What you’ll need (start with this core list):
- Claw hammer
- Phillips and flathead screwdrivers (two sizes each if possible)
- Adjustable wrench
- Tape measure (at least 16 ft / 5 m)
- Utility knife with extra blades
- Pliers (needle-nose and regular)
- Level (9–12 inch is fine)
- Assortment kit of screws, nails, wall anchors, and picture hooks
Step-by-step:
- Check what you already own.
Gather any tools scattered in drawers, boxes, or the garage. You might already have a few basics you can clean and reuse.
- Start with a budget.
Decide a realistic amount (for example, $30–$60) and prioritize quality for the tools you’ll grab most often: screwdrivers, hammer, and tape measure.
- Buy multi-use tools when possible.
An adjustable wrench can replace a full wrench set for most light jobs. A multi-bit screwdriver can cover several screw types.
- Choose hand tools over specialized gadgets (for now).
Skip single-purpose tools until you know you’ll actually use them more than once.
- Create a “home base” for your toolkit.
Use a toolbox, sturdy tote, or even a labeled shoe box. Store it where you can grab it quickly—hall closet, laundry room, or under a bed.
- Label and inventory.
Put a simple list inside the box. When you borrow a tool for another room, make it a habit to return it right away.
As you tackle more projects, you can slowly add to your kit. The aim is not to own “all the tools”—it’s to always have the right basic one within reach.
Tip 2: Learn the Right Way to Hang Something (So It Stays Put)
Crooked frames and falling shelves are frustrating, but the fix is surprisingly simple once you know how to support the weight properly.
Goal: Hang a picture, small shelf, or hook securely and straight.
What you’ll need:
- Tape measure
- Pencil
- Level (or a leveling app on your phone)
- Wall anchors and screws (for drywall), or wood screws (for studs)
- Drill or screwdriver
- Stud finder (optional but helpful)
Step-by-step:
- Decide exactly where it should go.
Hold the item against the wall at eye level and mark the top corners lightly with a pencil. Step back and adjust until it looks right.
- Find solid support.
- Use a stud finder to locate studs for heavier items.
- For lighter items on drywall (like small frames), use picture hooks or light-duty anchors.
- For medium to heavy items (larger frames, small shelves), use appropriate wall anchors if you’re not in a stud.
- Measure the mounting points on the item.
Flip it over and measure the distance between hanging hardware (D-rings, sawtooth hanger, or keyholes). Write those measurements down.
- Transfer measurements to the wall.
From your top line marks, measure down to where the hanging points should be, then measure horizontally to match the distance between mounting points. Mark these spots with a small “X.”
- Check for level.
Place a level between your two marks and adjust slightly until the bubble is centered. If using a phone app, rest your phone edge on the marks.
- Install anchors or screws.
- For anchors: drill a pilot hole if needed, gently tap the anchor into the wall, then drive the screw in, leaving a small gap for hanging.
- For studs: drive wood screws directly into the stud at your marks.
- Hang and fine-tune.
Hang the item, then gently shift left or right to center it. Use the level once more to confirm it’s straight.
Once you hang a few items this way, you’ll stop guessing where to put nails—and start getting it right on the first try.
Tip 3: Patch a Small Wall Hole So It Practically Disappears
Dings from door handles, old nail holes, and tiny wall craters don’t require a professional. You can repair most small holes in under an hour of active work.
Goal: Fix nail holes and small dents in painted drywall so they blend in.
What you’ll need:
- Spackling paste or light-weight joint compound
- Putty knife (2–4 inch)
- Fine-grit sandpaper (around 120–220 grit)
- Damp cloth or sponge
- Touch-up paint and small brush or foam roller
Step-by-step:
- Clean the area.
Wipe dust and loose paint from around the hole with a damp cloth. Let it dry for a few minutes.
- Apply spackle.
Scoop a small amount onto the putty knife. Press it into the hole firmly, scraping across the surface at a slight angle.
- Smooth it out.
Scrape off excess by dragging the knife flat across the wall. You want the patch just slightly raised above the wall, not a thick blob.
- Let it dry fully.
Follow the product label—small repairs often dry within 30–60 minutes, but thicker patches can take longer.
- Sand lightly.
Gently sand the area until it feels smooth and flush with the surrounding wall. Don’t over-sand; stop once it feels even to the touch.
- Wipe away dust.
Use a dry or slightly damp cloth to remove sanding dust so the paint will stick properly.
- Paint to blend.
Apply touch-up paint in thin coats. Feather the edges by lightly brushing past the patched area into the existing paint. Two light coats usually look better than one thick one.
After you do this once or twice, random wall marks feel less like permanent damage and more like a quick afternoon fix.
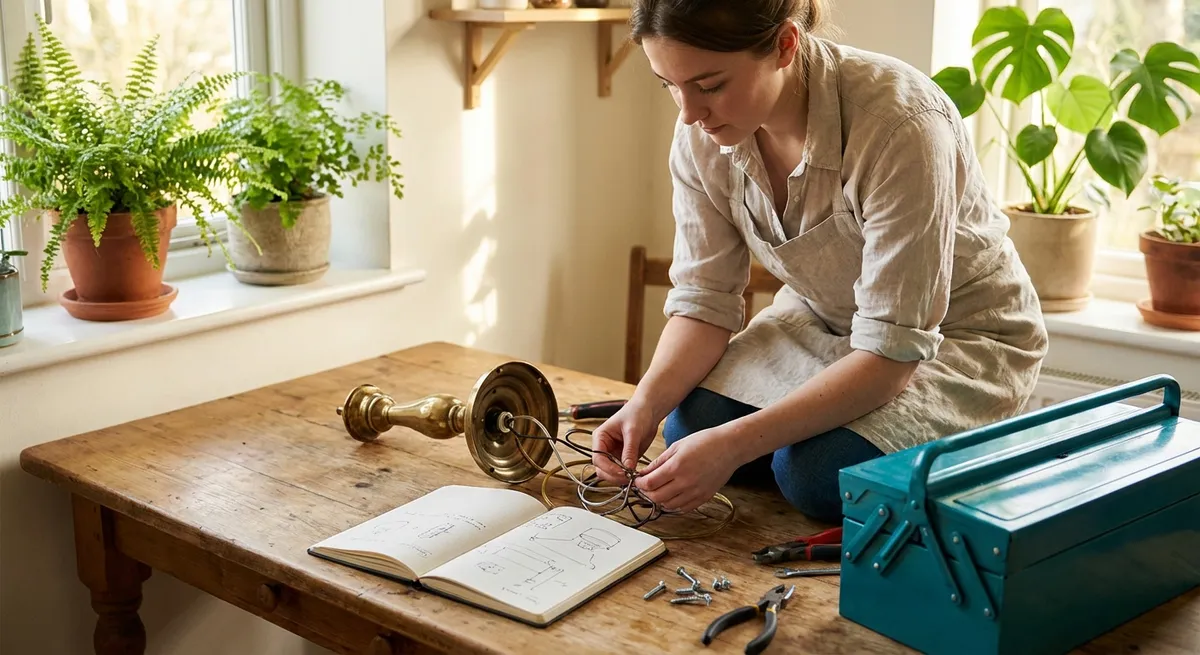
Tip 4: Master a Safe, Sturdy Furniture Fix (Loose Chairs & Wobbly Tables)
A wobbly chair or table often looks like it’s “about to break,” but in many cases it just needs its joints tightened or re-glued.
Goal: Make a wobbly piece of wood furniture stable and safe again.
What you’ll need:
- Wood glue (interior, yellow or white)
- Clamps or strong straps (ratchet straps, rope with knots, or heavy-duty belts)
- Screwdriver or Allen key (for any hardware)
- Damp cloth
- Optional: sandpaper (medium and fine grit)
Step-by-step:
- Identify where it moves.
Gently rock the furniture and watch which joints separate or shift. Focus your repair there.
- Tighten hardware first.
Use a screwdriver or Allen key to snug up loose screws or bolts. Sometimes this alone solves the wobble.
- If joints are loose, disassemble carefully.
If a leg or rail slides easily out of its socket, remove it fully. Don’t force anything stuck—gentle wiggles only.
- Clean the joint.
Brush or wipe away old glue or debris with a dry cloth. If old glue is flaking, lightly sand to give the new glue something to grip.
- Apply wood glue.
Run a small bead of glue inside the joint or along the tenon (the part that fits into the hole). Spread it thinly—too much just squeezes out and makes a mess.
- Reassemble and clamp.
Push the joint firmly together. Use clamps or straps to hold the piece in its correct shape—legs square, surfaces flat. Wipe away any squeeze-out with a damp cloth.
- Let it cure fully.
Follow the glue instructions; many need at least 24 hours before full use. Don’t rush this part—waiting is what gives the repair strength.
- Check for wobble again.
Once dry, set the furniture on a flat floor and test it. Still a tiny wobble? You may need to tighten hardware again or place a felt pad under the slightly short leg.
This process looks “advanced,” but once you’ve done it once, you’ll start seeing repairable potential in furniture you already own (or find) instead of replacing it.
Tip 5: Create a Simple Home Maintenance Routine You’ll Actually Follow
The best DIY “hack” is prevention. A few small, regular checks can stop big, expensive problems before they start.
Goal: Set up a low-effort routine that keeps your home in better shape year-round.
What you’ll need:
- Calendar (paper or digital)
- Basic toolkit from Tip 1
- Notebook or notes app to track issues and dates
Step-by-step:
- Pick a monthly “house check” day.
Choose a date you’ll remember—like the first Saturday of each month or the day your rent or mortgage is due.
- Create a short checklist (10–20 minutes max).
Start with these basics:
- Test smoke and carbon monoxide detectors
- Check under sinks for drips or moisture
- Look for signs of leaks around windows and ceilings
- Clean or check HVAC and bathroom fan filters
- Walk around outside: look at gutters, downspouts, and foundation for obvious issues
- Add a seasonal task each month.
- Spring: inspect window screens and doors, clean gutters if safe
- Summer: check outdoor hoses and faucets for leaks
- Fall: test heating, check weatherstripping
- Winter: look for condensation or drafty spots
- Write down what you find—without judgment.
Examples:
Note: “tiny drip under kitchen sink” or “one detector beeping, needs battery.” Your goal is awareness, not perfection.
- Schedule fixes, don’t just list them.
When you find something, put a specific fix on your calendar: “Saturday 10–11am: replace batteries in detectors” or “Next weekend: tighten bathroom faucet.”
- Keep it small and repeatable.
If your list starts taking more than 30–40 minutes, split tasks across two months. Consistency beats intensity.
Over time, this routine turns DIY from a stressful “emergency mode” into calm, predictable upkeep that you’re in control of.
Conclusion
DIY doesn’t have to mean big, dramatic makeovers. It can be as simple as: a reliable toolkit, a straight picture frame, a smooth wall, a solid chair, and a routine that keeps your home in good shape.
Every time you complete one of these small tasks, you’re building skill, confidence, and independence. Start with one tip this week—just one—and let that little win be proof that you’re more capable than you might think.
Sources
- [U.S. Department of Energy – Home Weatherization and Energy Savings](https://www.energy.gov/energysaver/weatherize) - Practical guidance on home maintenance tasks that prevent energy loss and future problems
- [U.S. Fire Administration – Smoke Alarm Basics](https://www.usfa.fema.gov/smoke-alarms/) - Clear recommendations for testing and maintaining smoke alarms as part of a home checklist
- [Family Handyman – How to Patch and Repair Drywall](https://www.familyhandyman.com/project/how-to-patch-and-repair-drywall/) - Step-by-step visuals and tips for wall patching and finishing
- [This Old House – How to Hang Pictures Like a Pro](https://www.thisoldhouse.com/walls/21017796/how-to-hang-pictures-like-a-pro) - Detailed advice on choosing hardware and positioning wall hangings
- [Consumer Product Safety Commission – Furniture and TV Tip-Over Information Center](https://www.cpsc.gov/Safety-Education/Safety-Education-Centers/Tipover-Information-Center) - Safety guidelines related to furniture stability and securing items in the home