This guide walks you through five practical DIY craft tips anyone can follow—complete with beginner-friendly steps, realistic time expectations, and ideas for using what you already have at home.
Tip 1: Turn Glass Jars into Custom Storage (No Special Tools Needed)
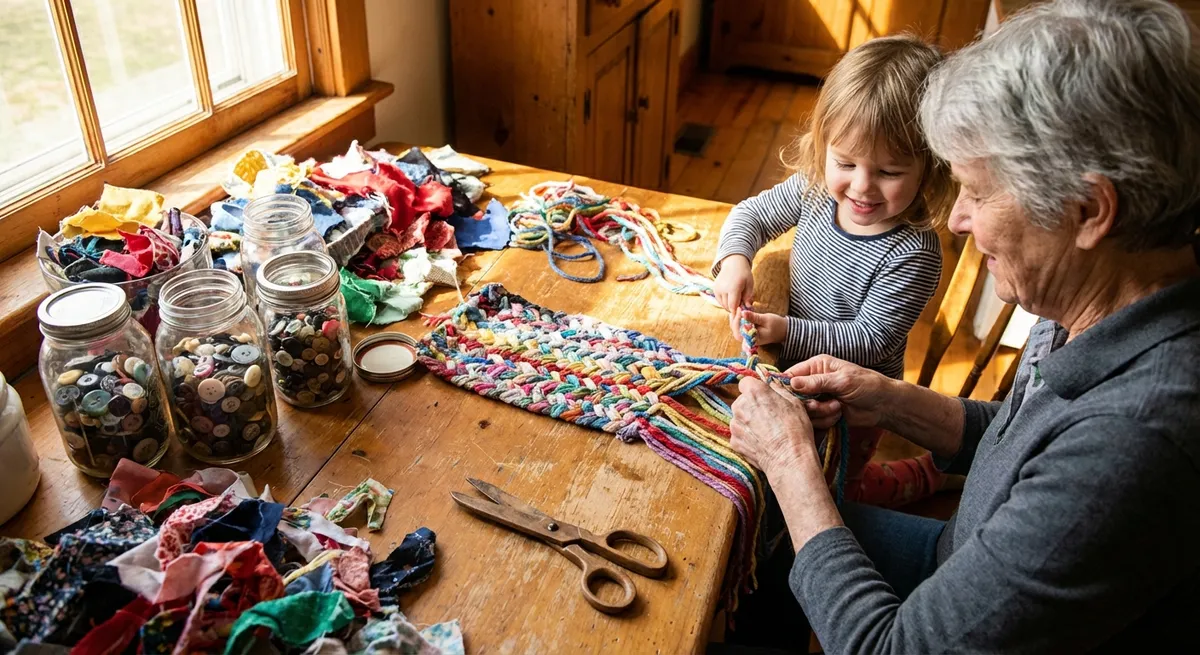
Instead of tossing pasta sauce or jam jars, turn them into clean, coordinated storage for your home or craft supplies.
What you’ll need:
- Clean glass jars with lids
- Warm soapy water and a sponge
- Optional: baking soda and oil (for sticky labels)
- Paint marker, masking tape, or label stickers
- Optional: leftover paint or nail polish for lid decor
Step-by-step:
- Soak and clean. Remove labels by soaking jars in warm, soapy water for 10–20 minutes. If glue remains, rub a mix of baking soda and cooking oil over the sticky parts, then wash again.
- Dry completely. Let jars air-dry upside down on a clean towel so no moisture gets trapped inside.
- Plan your use. Decide what each jar will hold: buttons, cotton pads, pens, screws, tea bags, spices, or loose change.
- Label simply.
- Use a paint marker to write directly on the glass.
- Or place a strip of masking tape on the jar and write the contents with a permanent marker.
- Dress up the lids (optional).
- Brush on leftover craft paint or even nail polish for a solid color.
- For a more rustic look, glue a small circle of fabric or paper on top.
- Group for impact. Line 3–5 jars together on a shelf, windowsill, or in a drawer. Matching labels or lids instantly make them look intentional.
Why it works: You gain useful storage, reduce kitchen clutter, and replace random plastic containers with something sturdier and better-looking.
Tip 2: Make No-Sew Fabric Coasters from Old Clothes
If you have an old cotton shirt, pillowcase, or fabric scrap, you can make simple coasters without sewing a stitch.
What you’ll need:
- Clean, washable fabric (old T-shirt, flannel shirt, cotton dress)
- Cardboard from a cereal box or shipping box
- Scissors
- Glue stick or white school glue
- A glass or mug to trace (for circle coasters) or a ruler (for squares)
- Pen or pencil
Step-by-step:
- Create a template.
- Set a glass or mug upside down on cardboard and trace around it.
- Or draw a 4" x 4" square with a ruler.
- Cut the cardboard. Cut out your coaster shape carefully. Use this as your master template.
- Cut the fabric.
- Place the template on the wrong side of the fabric.
- Trace around it, adding about ½ inch extra all around.
- Cut out the fabric piece.
- Attach the fabric.
- Spread a thin, even layer of glue over one side of the cardboard.
- Press the fabric on top, right side facing out, smoothing from the center to the edges to remove bubbles.
- Fold and glue edges.
- Snip small notches around curved edges (if making circles) to help the fabric fold smoothly.
- Fold the extra fabric around to the back and glue down securely.
- Let dry and test. Let coasters dry flat for at least 1–2 hours. Then set a cool, dry cup on them to test durability.
Optional upgrade: Stick a leftover piece of felt or another fabric square to the back to make the coasters double-sided and more cushioned.
Why it works: You give old fabric a second life and create something useful that protects your tables without needing sewing skills or special tools.
Tip 3: Build a Mini “Catch-All” Desk Organizer from Cardboard
Before you recycle that shipping box, turn it into a simple organizer that keeps pens, receipts, and small items from taking over your workspace.
What you’ll need:
- Sturdy cardboard box or thick cardboard sheets
- Ruler and pencil
- Scissors or craft knife (use with care)
- Tape (packing, masking, or clear)
- Paper (wrapping paper, old maps, brown paper bag, or magazine pages)
- Glue stick or white glue
Step-by-step:
- Cut the base.
- Decide how big you want your organizer (for example, 8" x 5").
- Measure and cut out a rectangle of cardboard for the base.
- Add walls.
- Cut 4 strips of cardboard: two long sides and two short ends.
- Make them about 2–3 inches tall.
- Tape the strips around the base so you have a shallow tray.
- Create dividers.
- Measure inside the tray and cut one or two pieces of cardboard that fit snugly across.
- Tape them in to create sections—for example, one long space for pens, one for sticky notes, one for keys or clips.
- Reinforce corners. Add extra tape along the inner corners and underside, especially if you’ll be lifting it frequently.
- Cover it.
- Cut pieces of decorative paper slightly larger than each side of the organizer.
- Glue them on, folding excess paper over the edges for a clean finish.
- Smooth out wrinkles as you go.
- Let it dry. Allow everything to dry for at least 30 minutes before loading it up.
Why it works: You tame desk clutter with something custom-sized for your space, using materials that usually end up in the trash.
Tip 4: Create Simple Wall Art with Painter’s Tape and Leftover Paint
You don’t have to be “artistic” to hang something you made. A little tape and paint can turn basic paper or canvas into modern, geometric wall art.
What you’ll need:
- Thick paper, poster board, or a cheap canvas
- Painter’s tape or masking tape
- Acrylic craft paint or leftover wall paint
- Paintbrush or small foam brush
- Old newspaper or cardboard to protect your surface
Step-by-step:
- Prepare your surface. Lay down newspaper or cardboard to protect your table. Place your paper or canvas on top.
- Tape a design.
- Stick pieces of tape across the surface at angles to form triangles, diamonds, or random geometric shapes.
- Press the edges of the tape down firmly so paint doesn’t seep underneath.
- Choose your colors. Pick 2–4 colors that look good together. One neutral (white, gray, beige) plus a couple of brighter colors works well.
- Paint the spaces.
- Paint inside the taped sections, switching colors as you like.
- You can leave some sections unpainted for a cleaner look.
- Let it partially dry. Wait about 20–30 minutes—paint should be mostly dry but still slightly soft to the touch.
- Peel the tape. Slowly remove the tape at an angle. You’ll see crisp, clean lines where the tape was.
- Finish and hang. Once the paint is fully dry, hang your art with removable wall strips or prop it on a shelf.
Why it works: The tape does the “design” work for you, and you get a personalized, modern piece of decor made from affordable materials.
Tip 5: Build a Simple “Grab-and-Go” Craft Kit from What You Own
Crafting becomes easier when your basics are always in one place. A small, portable craft kit means you can start a project at the kitchen table or the couch in a few minutes—no big setup needed.
What you’ll need:
- Small box, caddy, or sturdy tote (a shoebox works)
- Zip-top bags or small containers you already have
- Basic supplies you’ll actually use
Suggested starter supplies:
- Scissors
- Glue stick and/or white school glue
- Tape (clear or masking)
- Pens and markers
- Small ruler
- A few sheets of plain paper and scrap paper
- One or two “fun” items: washi tape, stickers, colored pencils, etc.
Step-by-step:
- Pick your container. Choose something you can easily carry with one hand and store on a shelf or under a table.
- Gather your basics. Walk around your home and collect scattered supplies: that stray pair of scissors, random pens, tape rolls, half-used glue sticks.
- Sort in small groups.
- Put writing tools in one bag.
- Glue and tape in another.
- Small bits like stickers, labels, or washi tape in a third.
- Add a mini “scrap stack.” Cut a few larger scrap papers into smaller pieces and clip or band them together. These are perfect for labels, notes, or test ideas.
- Keep it simple. Don’t overload the kit. The goal is to have just enough that you can start small projects quickly, not store everything you own.
- Give it a home. Store the kit in a place you already go daily (near your desk, by the couch, or in the kitchen). The easier it is to reach, the more likely you are to use it.
Why it works: When your supplies are ready to go, “I don’t want to pull everything out” stops being a reason not to create.
Conclusion
Crafting doesn’t have to mean complicated tools, perfect results, or an entire free weekend. It can be as simple as rinsing out a jar instead of throwing it away, turning an old shirt into coasters, or taping a few pieces of cardboard into a custom organizer.
You don’t need to do all of these at once. Pick one tip that sounds easiest, gather what you already have, and walk through the steps. Each small project you finish builds your confidence—and slowly turns “random stuff” around your home into things you actually enjoy using.
Sources
- [U.S. Environmental Protection Agency – Sustainable Management of Materials](https://www.epa.gov/smm/sustainable-management-materials-non-hazardous-materials-and-waste-management-hierarchy) - Overview of reducing waste and reusing materials, which supports upcycling crafts like jar storage and cardboard organizers.
- [Goodwill Industries – Upcycling Tips](https://www.goodwill.org/blog/shop/the-art-of-upcycling-how-to-transform-everyday-items-into-treasures/) - Practical inspiration for turning everyday items into useful or decorative pieces.
- [Michaels – Beginner Crafting Tips](https://www.michaels.com/project-ideas/beginners) - Introductory guidance and ideas for simple, accessible projects and basic supplies.
- [The Spruce Crafts – DIY Home Decor Ideas](https://www.thesprucecrafts.com/diy-home-decor-projects-4126053) - Examples of easy home decor projects, including tape art and simple organizers.
- [University of Illinois Extension – Creative Reuse in the Home](https://extension.illinois.edu/blogs/sustainable-living/2021-04-16-creative-reuse-and-upcycling-home) - Educational look at creative reuse and upcycling for everyday households.