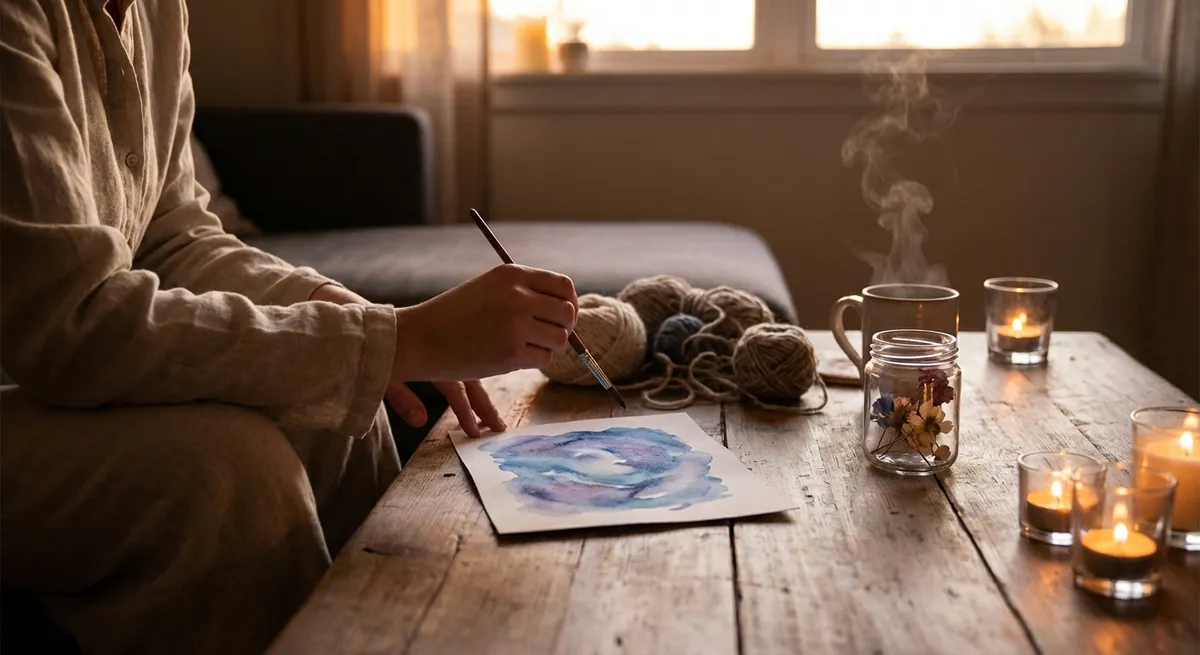
Below are five beginner-friendly DIY ideas designed to lower stress, build confidence, and give you something you can actually use or gift when you’re done.
Tip 1: Turn Old Jars into Cozy Candle Holders
If you’ve got an empty pasta sauce or jam jar, you’re halfway to a soft-glow candle holder that makes any room feel more relaxed.
What you’ll need:
- Clean glass jar (labels removed)
- White glue or Mod Podge
- Tissue paper, napkins, or thin scrap paper
- Paintbrush or sponge brush
- Optional: twine, ribbon, or a small charm
- Tealight candle or LED tealight
How to do it:
Prep the jar
Wash and dry the jar thoroughly. If there’s sticky residue, rub with a bit of oil and dish soap, then rinse.
Tear your paper
Rip tissue or napkins into small pieces (about 1–2 inches). Torn edges blend better than straight cuts and give a softer look.
Apply the glue
Brush a thin, even layer of glue or Mod Podge on a small section of the jar. Don’t coat the whole jar at once—it will dry too fast.
Press on the paper
Gently place a paper piece on the glued area and smooth it lightly with your fingers or brush. Overlap pieces slightly to cover the glass completely.
Seal the surface
Once the jar is covered, brush another thin layer of glue or Mod Podge over the paper to seal it. Let it dry completely (usually 30–60 minutes).
Add finishing touches
Tie twine or ribbon around the rim. Slip on a charm or bead if you have one. Place a tealight inside.
Why this works for beginners:
The paper doesn’t need to be exact, and wrinkles or texture actually make the candle glow prettier. It’s very forgiving and a great first craft for anyone who feels “not crafty.”
Tip 2: Create a No-Sew Fabric Bookmark from Scraps
If you have old shirts, pillowcases, or worn-out fabric, you can turn them into bookmarks in minutes—no sewing machine or advanced skills required.
What you’ll need:
- Fabric scraps (cotton works best)
- Stiff paper or thin cardboard (cereal boxes are perfect)
- Scissors
- Glue stick or fabric glue
- Optional: ribbon, hole punch, washi tape
How to do it:
Cut the base
Cut a strip of cardboard about 1.5–2 inches wide and 5–6 inches long. This will be the inside of your bookmark.
Cut the fabric
Cut two fabric rectangles slightly larger than the cardboard—leave about ¼ inch extra on all sides.
Glue the first side
Apply glue to one side of the cardboard. Press it onto the wrong side (back) of one fabric piece. Smooth out any bubbles.
Wrap the edges (optional but neat)
Trim the fabric corners diagonally. Fold any excess fabric over the edge of the cardboard and glue down.
Glue the back
Glue the second piece of fabric on the other side, covering any folded edges. Smooth it well.
Add a tassel or ribbon
Punch a hole at the top. Thread a short piece of ribbon or string through and tie a knot.
Beginner tip:
If fabric frays or feels fiddly, you can skip wrapping the edges and just cut the fabric to the exact size of the cardboard. It will still work and look good.
Tip 3: Make a Desk Tray from a Simple Cardboard Box
A shoebox lid or shipping box can become a catch-all tray for keys, pens, or craft tools. This project is all about neat corners and simple covering—no precision carpentry required.
What you’ll need:
- Shoebox lid or shallow cardboard box
- Wrapping paper, contact paper, or brown paper bags
- Scissors
- Tape or glue
- Ruler (optional, but helpful)
- Optional: clear tape or Mod Podge for sealing
How to do it:
Choose your box
Pick a lid or box that fits where you plan to use it (desk, nightstand, entry table). Trim the sides if it’s too tall.
Reinforce if needed
If the box feels flimsy, tape inside corners with packing or masking tape so it’s sturdier.
Cut your covering paper
Lay the box on your paper and cut a piece big enough to cover the bottom and wrap up the sides, with extra to fold over the edges.
Attach the paper
Start with the bottom: spread glue or use tape to secure the paper smoothly. Then fold the paper up along the sides, creasing the corners with your fingers.
Tidy up the edges
Fold the extra paper over the rim of the box and tape or glue it down on the inside. If the corners are bulky, snip small slits so the paper lies flat.
Seal for durability (optional)
Brush a thin layer of Mod Podge over the paper or cover just the bottom interior with clear tape for easy wiping.
Why this is starter-friendly:
You’re working with straight edges and simple folds. Small imperfections disappear once the tray is filled, so there’s almost no way to “ruin” it.
Tip 4: Design Your Own Simple Stamped Gift Tags
With a potato, cork, or simple foam shapes, you can make custom stamps and turn scrap paper into gift tags and labels. It’s quick, playful, and perfect for experimenting.
What you’ll need:
- Scrap cardstock, index cards, or cut-up cereal boxes
- Paint or stamp ink
- Something to stamp with: cork, foam shapes, or a potato
- Pen or fine marker
- String or ribbon
- Hole punch
How to do it:
Cut the tags
Cut your cardstock or cardboard into rectangles or simple tag shapes. Rounded corners or snipped top corners add a nice touch.
Make a basic stamp
- Easiest option: stick a foam sticker onto a bottle cap or block. - Or cut a potato in half and carve a simple shape (heart, star, triangle) about ¼ inch deep.
Add color
Dip the stamp lightly into paint or onto an ink pad. Tap off excess on scrap paper so it doesn’t blob.
Stamp the tag
Press the stamp firmly onto the tag and lift straight up. Repeat to create patterns (rows, clusters, or scattered shapes).
Punch and thread
Punch a hole at the top of each tag and thread a piece of string or ribbon through.
Personalize later
Leave space to write names or short notes with a pen once you’re ready to use the tags.
Beginner tip:
Start with one color and one simple shape. Once you like what you see, you can play with layering colors or overlapping shapes.
Tip 5: Build a Quick “Mini Inspiration Board” from a Hanger
Instead of a big, permanent bulletin board, try a small, flexible inspiration board using a hanger. It’s lightweight, easy to change, and great for photos, swatches, and reminders.
What you’ll need:
- A wooden or plastic clothes hanger (preferably with clips, but not required)
- String, yarn, or twine
- Small clothespins or paper clips
- Optional: washi tape, paint, or markers for decorating
- A few items to display (photos, quotes, fabric scraps, paint chips)
How to do it:
Decorate the hanger (optional)
Wrap the hanger with yarn or washi tape, or paint it one solid color. Let it dry if you use paint.
Add hanging lines
Tie pieces of string or twine to the bottom of the hanger so they hang down vertically. Two to four strings are usually enough.
Secure the strings
Knot the strings tightly. Trim any excess so it looks neat.
Attach clips
Clip mini clothespins or paper clips onto the hanging strings. Space them out so there’s room for your items.
Add your inspiration pieces
Clip on photos, quotes you’ve written on small cards, fabric scraps, or color swatches.
Hang and adjust
Hang the finished board on a hook, knob, or nail. Rearrange and swap items whenever you like.
Why this project helps you keep going:
It’s fast to complete, and seeing a small “gallery” you made yourself is motivating. Over time, you can change what’s on it to match your goals, seasons, or mood.
Conclusion
Crafting doesn’t have to be expensive, complicated, or perfect to be worth your time. With simple materials and clear steps, you can:
- Calm your mind by focusing your hands
- Turn everyday items into something useful and personal
- Build confidence with easy wins you can finish in one sitting
Pick just one of these ideas and try it this week—jar candle holder, fabric bookmark, desk tray, stamped tags, or a mini inspiration board. As your confidence grows, you’ll start seeing your home not as a place full of “stuff,” but as raw material for your next creative project.
Sources
- [Mayo Clinic: Creativity and Stress Relief](https://www.mayoclinichealthsystem.org/hometown-health/speaking-of-health/relaxation-and-stress-relief-through-art) - Explains how creative activities like crafting can reduce stress and support mental well‑being.
- [Cleveland Clinic: Benefits of Crafting for Mental Health](https://health.clevelandclinic.org/why-crafting-is-good-for-your-brain) - Describes how crafting can boost mood, focus, and cognitive function.
- [University of Arkansas Extension: Upcycling Household Items](https://www.uaex.uada.edu/life-skills-wellness/personal-finance/upcycling.aspx) - Offers guidance on safely and creatively reusing common household materials.
- [Goodwill Industries International: DIY Upcycling Ideas](https://www.goodwill.org/blog/how-to/diy-upcycling-ideas-you-can-try-at-home) - Provides practical project examples for turning everyday items into new creations.