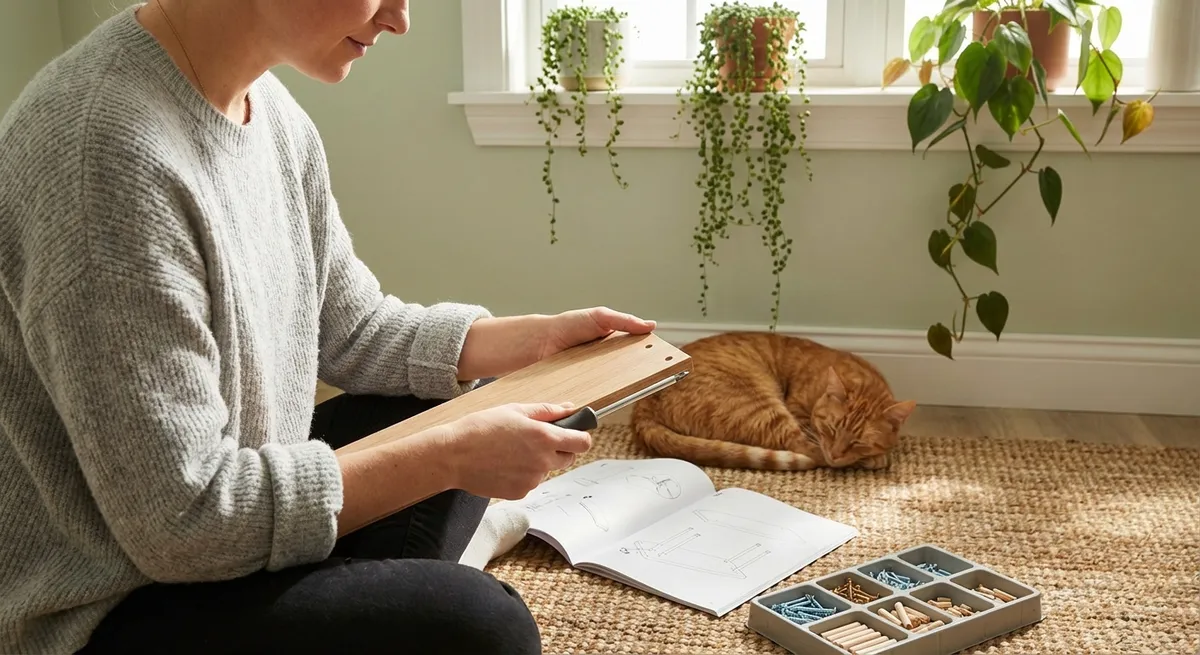
Below are five beginner-friendly DIY tips you can tackle at your own pace. Each one is structured so you can stop and start without losing momentum—and feel proud of what you finish.
Tip 1: Create a “Fix-It Basket” So Projects Stop Piling Up
Most home projects feel overwhelming because everything is scattered. A simple “fix-it basket” can turn random chores into quick wins instead of nagging stress.
Step-by-step:
Grab a small bin or tote
A shoe box, old basket, or small storage bin works. The goal is portable and easy to tuck away.
Choose a smart storage spot
Pick a central area like a hallway closet, laundry room, or near the kitchen. If you can see it, you’ll use it.
Stock it with basics (no power tools needed):
- Phillips and flathead screwdrivers - Measuring tape - Small hammer - Assorted nails and screws - Painter’s tape - Utility knife (with safety cover) - Adhesive hooks or strips - Super glue or strong craft adhesive
Add a simple “project list”
Tape an index card or small notepad to the inside. When you notice something (loose knob, crooked frame, squeaky hinge), write it down.
Schedule a 20-minute “basket session” weekly
Set a timer once a week and do what you can from the list using only what’s in the basket. When the timer goes off, you’re done—no guilt.
This tiny system shrinks big “I really should fix that” energy into small, doable actions you can actually finish.
Tip 2: Upgrade One High-Use Area with Peel-and-Stick Solutions
Peel-and-stick products are a beginner’s best friend: no drilling, no grout, and often removable. You can make a tired space look intentional in an afternoon.
Good places to start:
- Backsplash behind a stove or sink
- Inside a closet or pantry
- Entryway wall or small accent area
- Behind open shelving
Step-by-step:
Measure the area
Use a measuring tape and write down both width and height. Add about 10–15% extra to account for mistakes and trimming.
Choose your material
Look for: - Peel-and-stick tiles for kitchen/bath backsplash - Peel-and-stick wallpaper for walls or the back of shelves - Peel-and-stick floor tiles for rentals or small spaces like laundry rooms
Prep the surface
- Wipe down with mild soap and water. - Remove grease (especially in kitchens). - Let it dry completely to help adhesion.
Do a “test piece” first
Start in a less-visible corner. Apply one tile or strip to get a feel for alignment and how easily it peels back if you need to adjust.
Apply slowly, smoothing as you go
- Peel a small section of backing at a time. - Press from the center out to avoid bubbles. - Use a clean credit card or plastic scraper to smooth.
Trim edges carefully
Use a sharp utility knife and a straightedge (like a ruler) for clean cuts. Change blades if they start to tug or tear.
Peel-and-stick lets you take on a “big visual change” project without permanent commitment or specialized tools.
Tip 3: Tackle One Door: Smooth Hinges, Tight Handles, Better Fit
Doors that stick, squeak, or wobble quietly bother you dozens of times a day. Fixing just one door can noticeably improve how your home feels—and it’s very beginner-friendly.
Step-by-step:
Pick the one that annoys you most
Maybe it’s a bedroom door that doesn’t latch, a squeaky bathroom door, or a cabinet that swings open too easily.
Check the screws first
- Use a screwdriver to tighten screws on hinges and handles. - If a screw just spins, you may need to use a slightly larger screw or a wooden toothpick + glue to fill the hole before reinserting.
Silence squeaky hinges
- Open and close the door slowly to find which hinge squeaks. - Add a tiny drop of household oil (or silicone spray) to the hinge pin. - Open and close the door several times to work it in. - Wipe away any drips.
Adjust a sticky door
- Close the door and look for rub marks on the frame. - If it’s minor, sanding the edge lightly with fine-grit sandpaper can help. - Sand a little, test, then repeat—don’t rush this part.
Tighten or replace the handle
- Remove the handle if it’s very loose or wobbly. - Tighten the mounting screws. - If the handle is damaged, replacing it is usually as simple as matching the same type and following the included instructions.
Celebrate your micro-upgrade
Every time you use that now-smooth door, you’re getting a daily reminder that you can fix things.
Once you’ve done one door, the rest feel less intimidating.
Tip 4: Build a Simple Wall Gallery Without “Commitment Fear”
Hanging things on walls can be weirdly stressful—what if you mess up or hate the layout? A low-risk wall gallery gives you a plan and permission to adjust.
Step-by-step:
Choose a small area
A section above a console, a hallway, or over a desk is perfect. Avoid giant walls for your first attempt.
Gather your frames and items
Mix and match: - Framed photos - Printable art - Small mirrors - Decorative objects like woven baskets or small shelves
Make a “paper preview” layout
- Trace each frame/item on paper (newspaper or packing paper works). - Cut them out and label them. - Tape the paper templates to the wall using painter’s tape.
Adjust until you like the arrangement
- Keep 2–3 inches between pieces for a cohesive look. - Step back often and view from different angles. - Move paper templates around until it feels balanced.
Use removable hanging hardware
- For lighter frames, use adhesive hooks or strips rated for the right weight. - For heavier pieces, use wall anchors if going into drywall. - Always check the weight rating on the package.
Hang one piece at a time
- Start from the center and work outward. - Use a level or a small level app on your phone. - Remove the paper template as you go and replace it with the actual piece.
You end up with a personalized, polished wall—and you did it in a way that made mistakes easy to correct.
Tip 5: Create a “Maintenance Morning” Routine Once a Month
Instead of waiting until things break, a small monthly routine keeps your home calmer and safer—and most tasks take just a few minutes.
Step-by-step (pick a morning each month):
Set a 30–45 minute timer
This is not an all-day marathon. You’re just building a habit.
Do a quick safety check:
- Test smoke and carbon monoxide detectors using the “test” button. - Replace batteries if they chirp or if it’s been a year. - Check for loose cords, overloaded power strips, and tripping hazards.
Walk-through for “small problems”:
- Look for water spots on ceilings or under sinks. - Check for peeling caulk around tubs/sinks (early fix = no big repair later). - Spot-check for signs of pests (droppings, chewed packages, small holes).
Clean two “high impact” spots:
- Wipe light switches and door handles with a disinfecting wipe. - Dust or vacuum vents and fan covers.
Rotate one simple task each month:
- Month A: Clean refrigerator coils or wipe fridge door seals. - Month B: Flip or rotate mattresses (if applicable). - Month C: Reseal or spot-caulk around a tub, shower, or sink.
Note anything bigger for later
If you spot a real problem (leaks, cracks, damaged wiring), write it down and, if needed, plan to call a professional. Part of good DIY is knowing when to get expert help.
This routine may not be flashy, but it quietly protects your home and gives you steady DIY practice in small bites.
Conclusion
You don’t need to transform your entire home to feel capable and proud of your space. Start with one small project: set up a fix-it basket, choose a peel-and-stick upgrade, or fix that one annoying door. Each project you complete is proof that you can learn as you go—no perfect skills, no perfect tools, just small, steady steps.
The more you experiment, the more your home starts to match how you want to live in it. Pick one tip from this list, give it 20–30 minutes, and let that be enough for today. The confidence builds from there.
Sources
- [U.S. Consumer Product Safety Commission – Smoke Alarm Safety](https://www.cpsc.gov/safety-education/safety-guides/home/smoke-alarms) - Official guidance on testing and maintaining smoke alarms as part of home safety routines
- [Federal Emergency Management Agency (FEMA) – Home Fire Safety](https://www.fema.gov/emergency-managers/risk-management/fire/prevention-safety) - Practical tips on preventing common fire hazards and maintaining safer homes
- [Family Handyman – How to Fix a Squeaky Door](https://www.familyhandyman.com/project/how-to-fix-a-squeaky-door/) - Step-by-step instructions and troubleshooting for hinge and door issues
- [This Old House – How to Hang Pictures Perfectly](https://www.thisoldhouse.com/painting/21015172/how-to-hang-pictures-perfectly) - Reliable guidance on positioning, leveling, and hanging wall art and frames
- [Mayo Clinic – Household Chemical Safety](https://www.mayoclinic.org/healthy-lifestyle/adult-health/in-depth/household-chemicals/art-20047451) - Safety tips for handling lubricants, cleaners, and other common products you may use during DIY projects