Below are five everyday problems plus step-by-step fixes anyone can follow—even if you’ve never called yourself “handy” before.
1. Quiet a Squeaky Door in Five Minutes
A squeaky hinge makes your whole home feel a little worn out. The good news: it’s almost always an easy fix.
What you’ll need
- Paper towel or rag
- Lubricant: cooking oil, petroleum jelly, or WD-40
- Cotton swab or small brush (optional)
Step-by-step
- Open and close the door a few times to find exactly where the squeak is (usually the hinge pins).
- Wipe the hinges with a dry cloth or paper towel to remove dust and old grime.
- Apply your lubricant directly to the hinge pivot points.
- If using cooking oil or petroleum jelly, dab a tiny amount on with your finger or a cotton swab.
- Work the door back and forth 10–15 times so the lubricant spreads inside the hinge.
- Wipe away drips so nothing stains the door or frame.
- Listen: if there’s still a noise, repeat once more, focusing on the hinge that’s loudest.
Encouragement check-in: If you can open a door, you can do this repair. The “skill” is really just patience and wiping up the extra.
2. Stop a Running Toilet Without Calling a Plumber
A toilet that keeps running wastes water and money—but often the fix is simple and inside the tank.
What you’ll need
- Towel (to catch drips)
- Optional: replacement flapper (a few dollars at any hardware store)
Step-by-step
- Take off the tank lid and set it safely on a towel or soft surface.
Flush the toilet and watch what happens inside:
- Does the rubber flapper close fully? - Does water keep flowing into the tank after it’s full? 3. Check the flapper chain. - If it’s too tight, the flapper can’t seal. Unclip the chain and reconnect it so there’s a little slack when the flapper is closed. 4. Clean the flapper seal. - Turn off the water at the shutoff valve (knob on the wall near the base). - Flush to empty most of the water. - Wipe around the flapper and the opening it covers. Mineral build-up can prevent a tight seal. 5. Test the fix. - Turn water back on, let the tank refill, and listen. If the running stops, you’re done. 6. If it still runs, replace the flapper. - Turn water off again, detach the old flapper from the overflow tube and chain, and clip on the new one in the same position. - Turn water back on and test.
Encouragement check-in: The inside of the tank looks complicated, but it’s really just a few moving parts. You’re not going to break anything by watching, poking gently, and adjusting a chain.
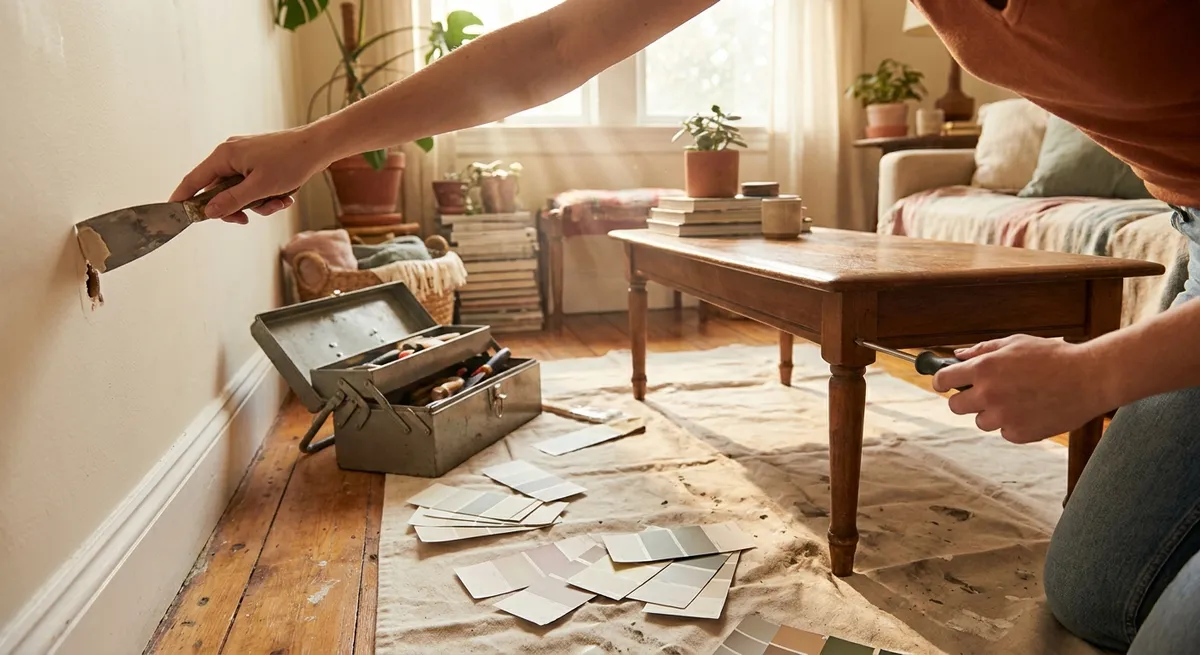
3. Fix a Wobbly Chair or Table with Simple Tightening
That shaky chair or table usually needs tightening, not replacing.
What you’ll need
- Screwdriver (Phillips or flat-head, depending on the screws)
- Allen (hex) key, if your furniture uses hex bolts
- Small bowl for screws (optional)
Step-by-step
- Flip or tilt the furniture so you can see every joint safely. Use a soft surface (rug or towel) to avoid scratches.
- Check each screw or bolt by hand.
- If you can move it with your fingers, it’s too loose.
- Tighten each one a little at a time, rotating around the piece instead of tightening one leg completely first.
- This helps the frame settle evenly.
- Check for missing screws.
- If any are gone, bring one of the remaining screws to a hardware store to match size and length.
- Re-test on a flat surface.
- Set the chair/table upright and apply gentle pressure in different directions to feel for wobble.
- If it still wobbles, add a simple shim.
- Cut a small piece of cardboard or folded paper and place it under the short leg.
- Once you find the right thickness, you can later upgrade to a rubber or wood furniture shim.
Encouragement check-in: Tightening screws is one of the easiest wins in DIY—and it instantly makes your space feel sturdier and safer.
4. Patch a Small Wall Hole Without Repainting the Whole Room
Maybe a picture hook came out wrong, or a doorknob hit the wall. Small holes and dents are normal—and fixable.
What you’ll need
- Pre-mixed spackling paste or lightweight wall filler
- Putty knife or an old plastic card (gift/credit card)
- Damp sponge or paper towel
- Optional: tiny bit of leftover wall paint
Step-by-step
- Clean the area around the hole with a dry cloth to remove dust.
- Scoop a small amount of spackle onto the putty knife or plastic card.
- Press the filler into the hole, then scrape the excess off so it’s flush with the wall.
- Use long, light strokes to blend with the surrounding area.
- Wait for it to dry according to the product instructions (often 30 minutes to a few hours).
- Gently smooth the surface with a barely damp sponge, wiping in light circles.
- This can often replace sanding for tiny repairs.
- Paint if you can.
- If you have leftover wall paint, dab a small amount on the patch once it’s fully dry.
- If you don’t, many small holes are subtle enough after patching that they barely show.
Encouragement check-in: The first time you patch a wall, it might look imperfect up close. That’s okay. From normal viewing distance, most small repairs blend in more than you expect.
5. Unclog a Slow Drain Using Pantry Basics
Before you reach for harsh chemicals, try a gentler approach that’s often enough for minor clogs.
What you’ll need
- Baking soda
- White vinegar
- Hot (not boiling) water
- Old rag or drain stopper
- Optional: plunger
Step-by-step
- Remove any visible gunk from the drain opening (hair, food bits, etc.). Gloves make this easier.
- Pour about ½ cup of baking soda directly into the drain.
- Follow with ½–1 cup of vinegar.
- It will fizz—this is normal and helps loosen debris.
- Cover the drain with an old rag or stopper to keep the reaction inside the pipe for 10–15 minutes.
- Flush with hot water.
- Run the tap as hot as safely possible or carefully pour a kettle of hot (not boiling) water down the drain.
- Test the flow.
- If it’s better but not perfect, repeat once.
- If it’s still slow, try a plunger.
- For a sink, cover the overflow hole with a damp cloth and plunge firmly several times, then flush again with hot water.
Encouragement check-in: You’ve just done what many people immediately call a plumber for. Not every clog will clear this way, but many do—and you’ve learned a low-risk, low-cost first step.
Conclusion
DIY doesn’t have to mean big projects or brand-new skills. It can simply be noticing something that isn’t working quite right and giving yourself permission to try a small fix before you call in help.
Today you learned how to:
- Silence a squeaky door
- Stop a running toilet
- Steady a wobbly chair or table
- Patch a small wall hole
- Clear a slow drain
Pick just one of these and do it this week. Each small win builds your confidence, and confidence is the most powerful tool in any DIY kit.
Sources
- [U.S. Environmental Protection Agency – Fix a Leak](https://www.epa.gov/watersense/fix-leak-week) – Explains how common household leaks (including toilets) waste water and simple steps to address them
- [Family Handyman – How to Fix a Running Toilet](https://www.familyhandyman.com/project/how-to-fix-a-running-toilet/) – Detailed guide with photos on diagnosing and repairing common toilet tank issues
- [Lowe’s – How to Patch and Repair Drywall](https://www.lowes.com/n/how-to/patch-and-repair-drywall) – Step-by-step instructions, tools, and tips for fixing small holes and dents in walls
- [Bob Vila – How to Fix Squeaky Doors](https://www.bobvila.com/articles/how-to-fix-a-squeaky-door/) – Overview of different methods and lubricants for silencing noisy door hinges
- [Cleveland Clinic – Are Chemical Drain Cleaners Safe?](https://health.clevelandclinic.org/chemical-drain-cleaners) – Discusses the risks of chemical drain cleaners and safer alternatives for unclogging drains