Below are five practical quick fixes you can follow today. Start with the one that feels easiest—you’ll be surprised how quickly “I can’t” turns into “I’ve got this.”
Stop a Running Toilet Without Calling a Plumber
A constantly running toilet wastes water and creates an irritating background noise, but most of the time the cause is simple and safe to fix.
What you’ll need:
- Towel (for any drips)
- Optional: rubber gloves
Step-by-step:
- Take off the tank lid carefully.
Set it on a towel or flat surface so it doesn’t crack.
- Identify the three main parts.
- Float (ball or cup that rises with water)
- Fill valve (where water comes in)
- Flapper (rubber piece covering the drain at the bottom of the tank)
- Check the flapper first.
Gently press it down with your finger. If the running sound stops, the flapper isn’t sealing properly.
- Adjust or clean the flapper.
- Make sure the chain isn’t too tight or tangled; it should have a little slack.
- Wipe the rubber flapper and the rim it sits on with a rag or paper towel to remove slime or mineral buildup.
- Adjust the water level.
If water is flowing into the overflow tube (a vertical pipe), the tank is too full.
- Test your work.
Flush the toilet and watch the tank refill. The water should stop below the top of the overflow tube, and the running sound should end within a minute.
If it’s still running after these adjustments, the flapper might be worn out. Replacement flappers are inexpensive, and most come with clear packaging instructions you can follow.
Silence a Squeaky Door in Minutes
That door squeal you hear every time someone walks through the house is usually caused by friction in the hinges—not a sign the door is failing.
What you’ll need:
- Paper towel or rag
- Lubricant: cooking oil on a cotton swab, petroleum jelly, or silicone spray
Step-by-step:
- Open and close the door to find the squeak.
Pinpoint which hinge (top, middle, or bottom) is loudest.
- Protect the area.
Place a paper towel or rag under the hinge to catch drips.
- Apply a small amount of lubricant.
- If using cooking oil or petroleum jelly, dab a little directly onto the hinge pin and where the leaves of the hinge meet.
- If using spray, insert the straw (if included) and spray a short burst right into the hinge joints.
- Work it in.
Open and close the door 10–15 times so the lubricant spreads evenly inside the hinge.
- Wipe away extra.
Remove any drips or excess to prevent staining nearby surfaces.
- Re-check after a few hours.
If there’s still a small squeak, add a tiny bit more and repeat the process.
This same approach works on squeaky cabinets and closets—just use less lubricant so it doesn’t drip down visible surfaces.
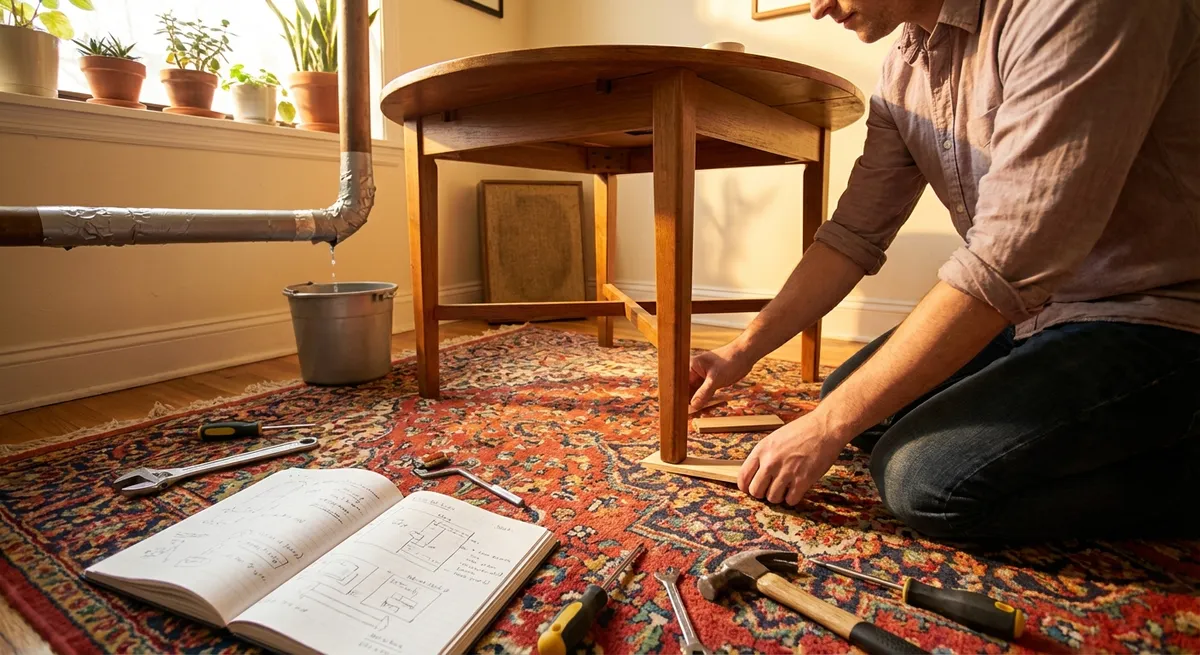
Tighten a Wobbly Chair or Table (Without Special Tools)
Wobbly furniture can feel unstable and annoying, but you can usually steady it with basic items you already have.
What you’ll need:
- Screwdriver (Phillips or flathead, depending on the screws)
- Old playing card, thin cardboard, or folded paper
- Optional: wood glue (for more serious wobble)
Step-by-step:
- Flip or tilt the furniture carefully.
Use a blanket or towel to protect the floor and the furniture.
- Inspect all legs and joints.
Look for:
- Loose screws or bolts
- Gaps between joints
- Cracks in the wood
- Tighten all visible screws and bolts.
Even if only one leg feels loose, go around and snug each screw. Turn until firm—stop if you feel strong resistance so you don’t strip the screw.
- Test the wobble again.
Turn the furniture upright and give it a gentle shake. If the wobble is smaller but still there, move to the next step.
- Shim the short leg.
- Slide a folded piece of paper, thin cardboard, or a piece of an old playing card under the leg that doesn’t fully touch the floor.
- Keep adjusting thickness until the furniture sits level.
- For a more permanent fix, you can glue the shim in place or trim it so it’s less visible.
- Re-check after a day of use.
If the wobble returns, you may have a cracked joint that needs wood glue and a clamp. But tightening and shimming often solves the problem for everyday use.
Clear a Slow Sink Drain Without Harsh Chemicals
When water pools around your ankles in the shower or takes forever to drain in the sink, it’s usually buildup in the drain—not a major plumbing disaster.
What you’ll need:
- Rubber gloves
- Baking soda
- Vinegar
- Hot water (from a kettle or pot)
- Old toothbrush or small brush
- Optional: hair-removal drain tool or straightened wire hanger
Step-by-step:
- Remove any visible stopper or drain cover.
- Bathroom sinks often have a pop-up stopper you can pull out.
- Showers usually have a small cover that lifts off or unscrews.
- Clean what you can reach.
Put on gloves and remove hair and gunk near the top of the drain using your fingers or a hair-removal tool/wire hanger. It’s not glamorous, but it’s very effective.
- Scrub the stopper or cover.
Use an old toothbrush and some dish soap or baking soda to remove buildup. Rinse well.
- Pour in baking soda.
Tip about 1/2 cup of baking soda down the drain.
- Add vinegar slowly.
Pour about 1/2–1 cup of vinegar into the drain. It will fizz—this is normal and helps break up buildup. Let it sit for 10–15 minutes.
- Flush with hot water.
Carefully pour a kettle or pot of hot (not boiling, if you have PVC pipes) water down the drain to rinse everything through.
- Test the drain.
Run water to see if it flows more quickly. If it’s still slow, you can repeat the process once more.
This method is gentler than many chemical drain cleaners and can be part of a regular routine to keep drains moving freely.
Reattach a Peeling Corner of Wallpaper or Wall Sticker
A peeling wallpaper seam or curling wall decal makes a room look more tired than it really is. Thankfully, fixing a small section is quick and straightforward.
What you’ll need:
- Clean cloth
- Mild soap and water
- Wallpaper paste or clear-drying craft glue (for wallpaper)
- Credit card or plastic scraper
- Small paintbrush or cotton swab
- Optional: hair dryer (low heat) for stickers/decals
Step-by-step (for wallpaper):
- Clean under the loose flap.
Gently lift the peeling edge and wipe away dust with a slightly damp cloth. Let it dry completely.
- Apply adhesive sparingly.
Use a small paintbrush or cotton swab to apply wallpaper paste or a small amount of clear-drying glue under the lifted area. Avoid getting glue on the visible surface.
- Press and smooth.
Starting from the inside of the lifted area, press outward to push out air bubbles. Use a clean credit card wrapped in a cloth to smooth it flat.
- Wipe away any excess glue.
Lightly wipe with a damp cloth if glue squeezes out at the edges.
- Hold in place if needed.
For stubborn edges, you can tape a piece of wax paper over the repaired area and gently press with books or a flat object until dry.
Step-by-step (for decals/stickers):
- Warm the area slightly.
Use a hair dryer on low heat for a few seconds to soften the adhesive.
- Press and smooth.
Use your fingers or a plastic card to press the edges back into place, working from the center outward.
- Add a tiny bit of glue if needed.
For very stubborn corners, use the tiniest dot of clear-drying glue, then smooth and wipe away any extra.
This small repair can instantly make a wall look fresher without redoing the whole surface.
Conclusion
Fast fixes don’t have to be complicated, and you don’t need to know everything before you start. Each time you handle a running toilet, a squeaky hinge, or a slow drain on your own, you’re building a skill you’ll use again and again.
Pick one small problem in your home and walk through these steps slowly. Keep your expectations realistic, give yourself permission to learn as you go, and remember: every successful fix—no matter how small—counts as real DIY experience.
Sources
- [U.S. Environmental Protection Agency – Fix a Leak](https://www.epa.gov/watersense/fix-leak-week) – Explains how common household leaks (like running toilets) waste water and basic ways to address them.
- [The Family Handyman – How to Fix a Running Toilet](https://www.familyhandyman.com/project/how-to-fix-a-running-toilet/) – Step-by-step guidance with photos for the main causes of running toilets.
- [Lowe’s – How to Fix a Squeaky Door](https://www.lowes.com/n/how-to/fix-a-squeaky-door) – Practical tips on lubricating door hinges and choosing the right products.
- [Bob Vila – How to Unclog a Drain Without Chemicals](https://www.bobvila.com/articles/how-to-unclog-a-drain-without-chemicals/) – Covers baking soda and vinegar methods and other gentle approaches to slow drains.
- [This Old House – How to Repair Wallpaper Seams](https://www.thisoldhouse.com/walls/21015012/how-to-repair-wallpaper-seams) – Detailed tutorial on re-gluing peeling wallpaper edges and seams.